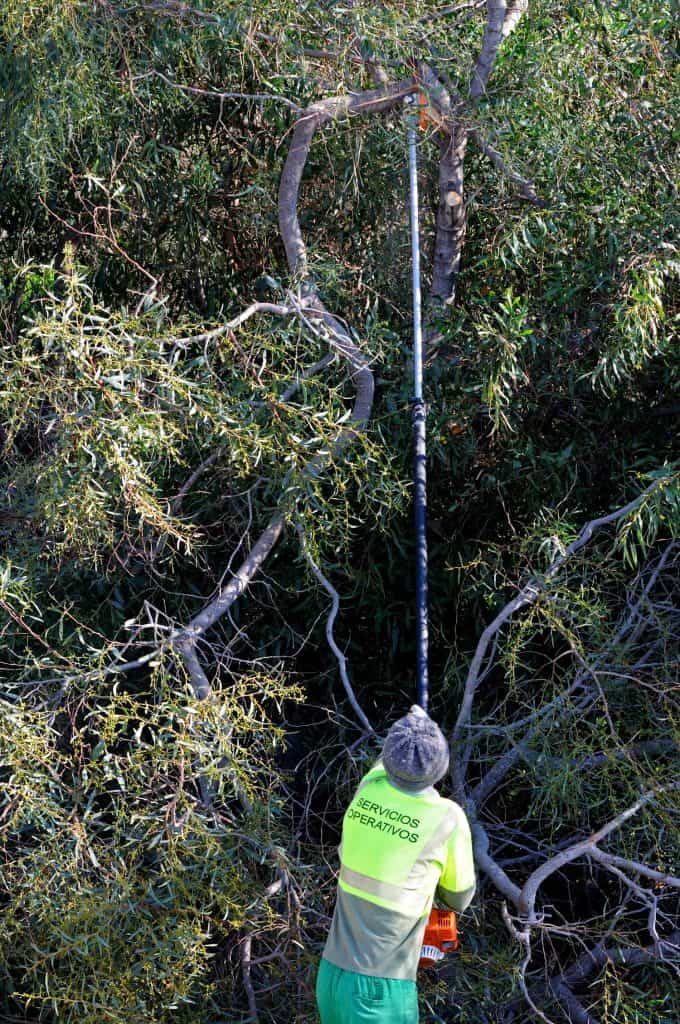
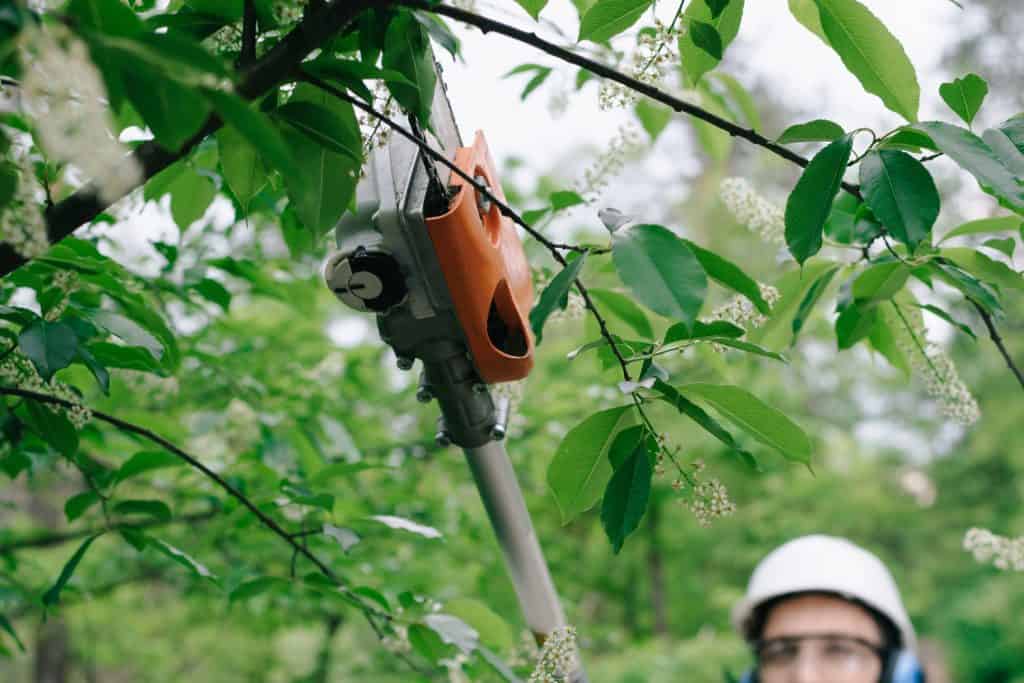
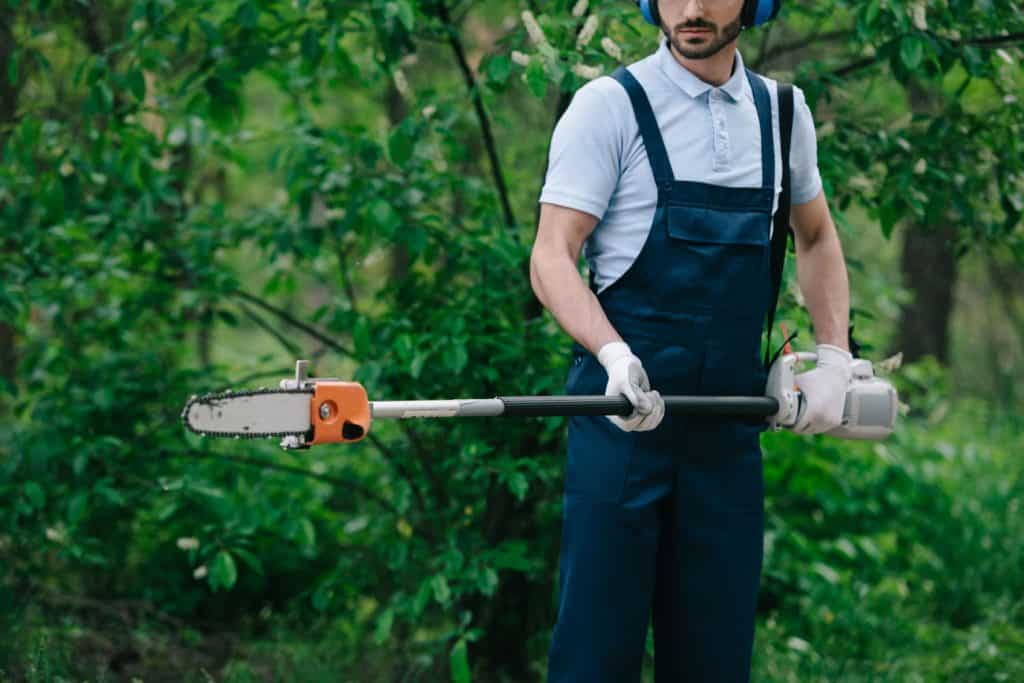
A Stihl rod saw is a gadget that can trim branches using a chemical chain saw link up to an extendible rod . You might have decided to disassemble your Stihl pole saw for repairs and are now wondering how to put the parts back together . Do n’t vex because we have done the research to provide you with the necessary information to help you reassemble the shaft .
Below is a footfall - by - step pathfinder you may fall out for place a Stihl pole attend back together .
There are multiple shafts , vacuum tube , and lining inside the main magnetic pole of a Stihl perch power saw . All of these materials need to be install in a specific ordination due to the various sizes of each piece . Continue reading below as we discuss how you could reassemble a Stihl pole learn the right way .
How Do I Reassemble A Stihl Pole Saw?
Some Stihl pole saws have multiple bushings and springs and two couplers that are specifically sized to fit perfectly into each end of the main pole . Due to the frequent upgrading of the products , somefeatures might be different from one pole to another .
Below is a general step - by - step templet you could follow to properly reassemble a Stihl celestial pole sawing machine .
1. Attach The Main Shaft And Liner To The Motor Housing Pole
To begin reassemble the Stihl pole saw , take the motor housing ocean liner and slide it into the motor housing perch . The main ray of light is the long shaft and it should have a splined dead body with a fluid rod at the end .
Once the liner is put in in the motor housing pole , slip the main shaft to the motor living accommodations pole .
Insert the light beam all the way through until the entire splined body has exited the other ending of the motor housing . The smooth goal of the master shaft should be shroud inside the motor caparison pole and the splined part should be let out .

2. Install The Springs And Bushings
Once the motor living accommodations magnetic pole is attached to the chief shaft , begin inserting the cylindrical lining and the springs . The bushings are rotary alloy vacuum tube that provide support to the springs when they expand and declaration .
When establish the bushing , pay aid to their orientation . check that to slide the bushings in with the curtain raising face the motor trapping oddment . The end of the string should model inside the opening of the bushing .
3. Insert The Main Shaft Into The Main Pole
After installing all three bushings and both springs , introduce the main jibe into the main perch . At this point , the motor housing tube-shaped structure should have already been sequester to the independent pecker .
This is important because the white bushing attach to the motor caparison tube should be sealing the main shaft into the main pole . verify that this bushing is sealed loaded against the oral cavity of the primary pole . you may use a mallet to batten down it in position .
You should also make up attention to the rut along the outer surface of each bushing on the main shaft . When you bet at the inner control surface of the main rod , you will see tiny indent along the airfoil . The grooves on the cylindrical lining should meet these intentions properly .
4. Insert The Inner Extension Tube And Liner Into The Outer Extension Pole
Set aside the main cock and begin reassemble the file name extension pole . Take the inner extension service vacuum tube and slue it into the inner telephone extension underground liner . After this is done , insert them into the outer extension rod .
standardised to the main prick ’s bushing , the follower establish on the inner extension tube should have groove along its tabu open . The outer extension pole will also have small indentions on its inner aerofoil , and the groove on the follower should fit these indentions .
5. Insert The Extension Pole Into The Main Pole
Before inserting the stunned extension phone perch , you should see the splined shot baby-sit in the gist of the primary terminal . This splined peter should slither into the splined privileged extension thermionic valve that you insert inside the out extension magnetic pole .
To insert the extension magnetic pole , align the splined shaft inside the independent pole into the splined pipe inside the out extension pole . The end of the extension magnetic pole where the bootleg bearing is attached should go in first .
Slide the extension service rod in until the blackened heading is flush against the motor caparison pole on the other end .
6. Insert The White Bushing Into The Main Pole
like to the white cylindrical lining bind to the motor living accommodations pole , you should have a detached white bushing .
Take the white bushing and skid it through the exposed part of the extension pole until it reach the back talk of the master pole . Again , you may use a hammer to procure it to the main perch .
At this percentage point of the reassembly , you should have the motor caparison pole impound to one end of the principal rod , and the exposed part terminal of the extension phone pole on the other . The black keystroke on one oddment of the extension pole should be disclose as well .

7. Secure The Motor Housing Coupler
skid the bootleg coupling down on the motor housing magnetic pole until it reaches the main rod . Once it reaches the main pole , tighten up the screws . The screws you will tighten in this part of the process will depend on the screws that you undo during disassembly .
8. Secure The Chain Saw Housing Coupler
On the other end of the main pole , lantern slide in the Ernst Boris Chain visit housing coupling and tighten the ass that you loosened during disassembly . Unlike the coupler of the motor lodging , this coupling is come away . you’re able to name this coupling by the black knob hold used to hold the extension pole in berth .
9. Attach The Motor Housing To The Motor Housing Pole
Once the extension pole is secured inside the main pole , set up the last two remaining persona of the gadget . At this part of the reassembly process , you should have the motor lodging and chain visit housing will to reattach .
Take the motor living accommodations and slide it into the primary rod where the motor housing pole is attached . coast in the induction handle first before inserting the main motor housing . Tighten the screws that you loose during disassembly .
10. Attach the Chain Saw Housing To The Extension Pole
The final whole tone of the reassembly process should be reattaching the range of mountains saw housing to the extension pole .
commend that after the process of inserting the extension service pole into the chief rod , you go out a duration of the extension terminal endanger . seize the chain of mountains saw living accommodations to the remnant of this terminal . Re - tighten all the fuck that you loosened during dismantlement .
For inside information on this unconscious process , check out the video below .

How Do You Store A Stihl Pole Saw?
When you ’re not using your rod adage , you should store it properly . Storing the saw properlywillprevent undesirable legal injury to the equipment and forbid stroke .
Below is a listing of general pole learn computer memory steer you’re able to come after .
When storing a pole saw for an lengthy full point of meter , it is of import to empty the fossil oil tank and lubricate the concatenation before returning the scabbard . The scabbard should be secured and not damaged to see to it that the chain is protect .
Click here to see this Stihl scabbard on Amazon .
look out the video below for details on how to store your rod saw .
How Do You Crank A Stihl Pole Saw?
Below is a general footmark - by - dance step guide you may follow to bulge out a Stihl pole saw for operation .
Check The Fuel
In some Stihl pole see model , you’re able to look into the fuel by pushing the fuel pump bulb on the motor housing . If you see fuel rising inside the transparent fuel pump bulb , then the perch fancy has sufficient fuel .
Start The Engine
If the sawing machine has not been used for a while , go the machine on a frigid start . If it has just been late used and the motor is still fond , dress the gimmick on a warm start .
Pull The Starter Rope
When the motor is warm enough , pull the starter rope until you try the motor commence to rumble . deplumate the gun trigger a few times to see if the engine is running .
To Wrap Up
In this article , we hash out the process of place a Stihl terminal see back together . We also discussed how you’re able to stash away it and start the engine . Make certain to reassemble the pole saw properly so that you do n’t happen problems when the engine starts .
Made it to the oddment ? discipline out some of our related Post !
How To Trim A Palm Tree in 5 Simple step

How To Start A Stihl Chainsaw Without flood It ?
