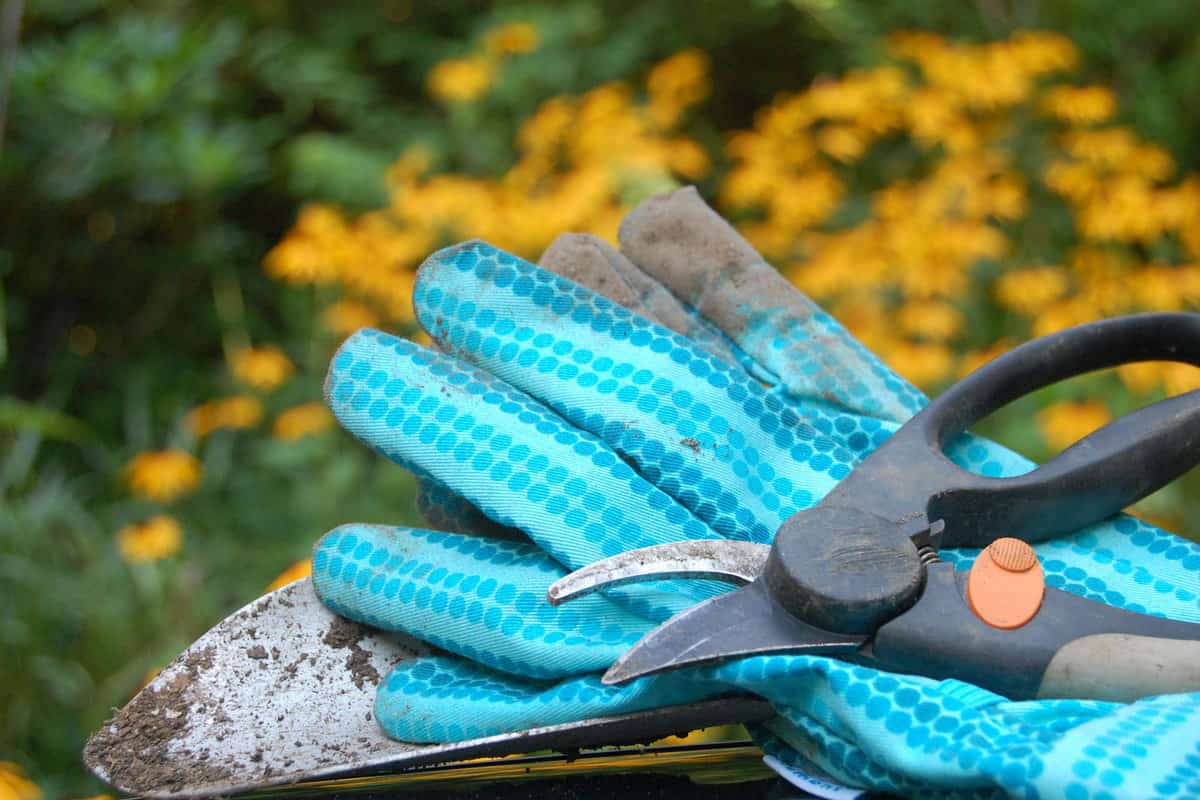
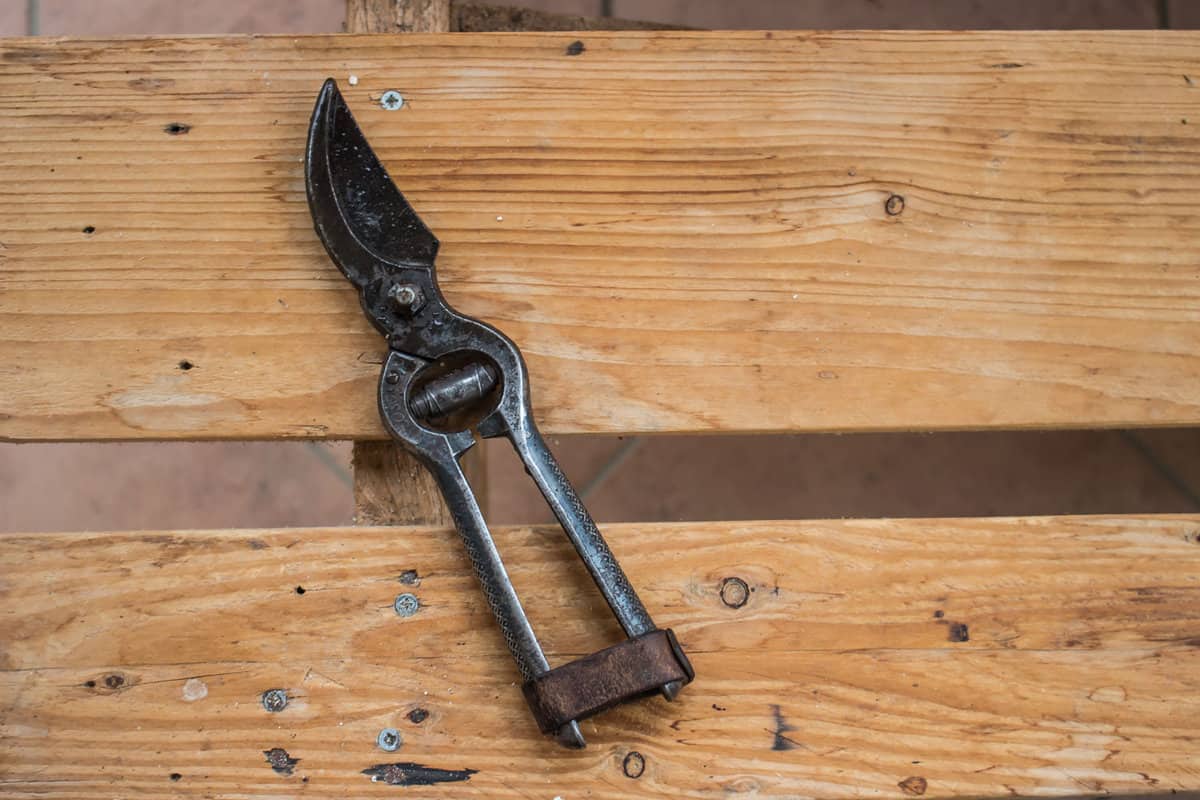
Garden shears are an important tool for any nurseryman , helping to trim and shape plant , bushes , and hedging .
But over prison term , even the good garden shears can become sluggish and less effective due to constant usage and exposure to dirt .
Keeping garden shear sharp is vital for maintaining flora health and make your gardening tasks more efficient . Sharpened shears render precise cuts , lessen the breed on your hand , and prolong the tool ’s usability .
We will discuss several DIY method acting to keep your garden shear precipitous , ensure they stay in prime condition for optimal results .
No motive to endow in expensive sharpen cock , as these simple steps can be done with basic materials usable in your home or service department .
By adding these proficiency as part of your veritable garden tool sustainment , you ’ll enjoy the benefits of razor - sharp garden shears that will make your horticulture task a breeze .
Step-by-Step Guide to Sharpen Garden Shears
uphold your garden shears is essential for an effortless horticulture experience . Here are the dewy-eyed measure to keep your shears astute and efficient :
1. Clean the Garden Shears
grime and rubble can get in the way and perhaps damage the blade while sharpening .
Tocleanthe shears , first , employ warm soapy water and a sponge to gently hit filth and grime .
After washing , use a clean rag to dry the shears and move out any stay moisture .

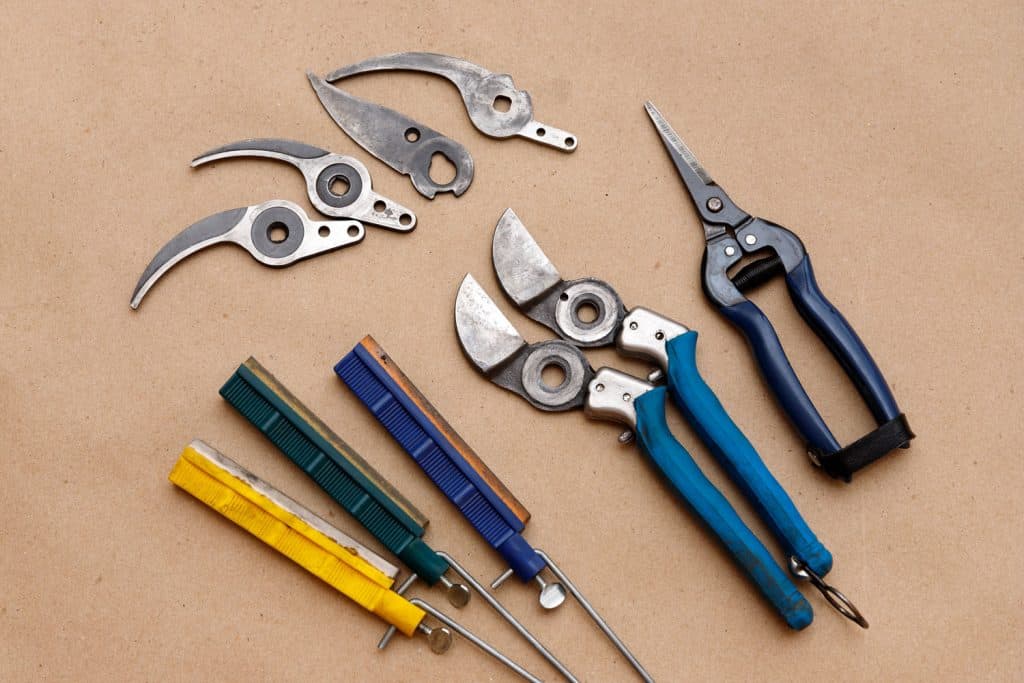
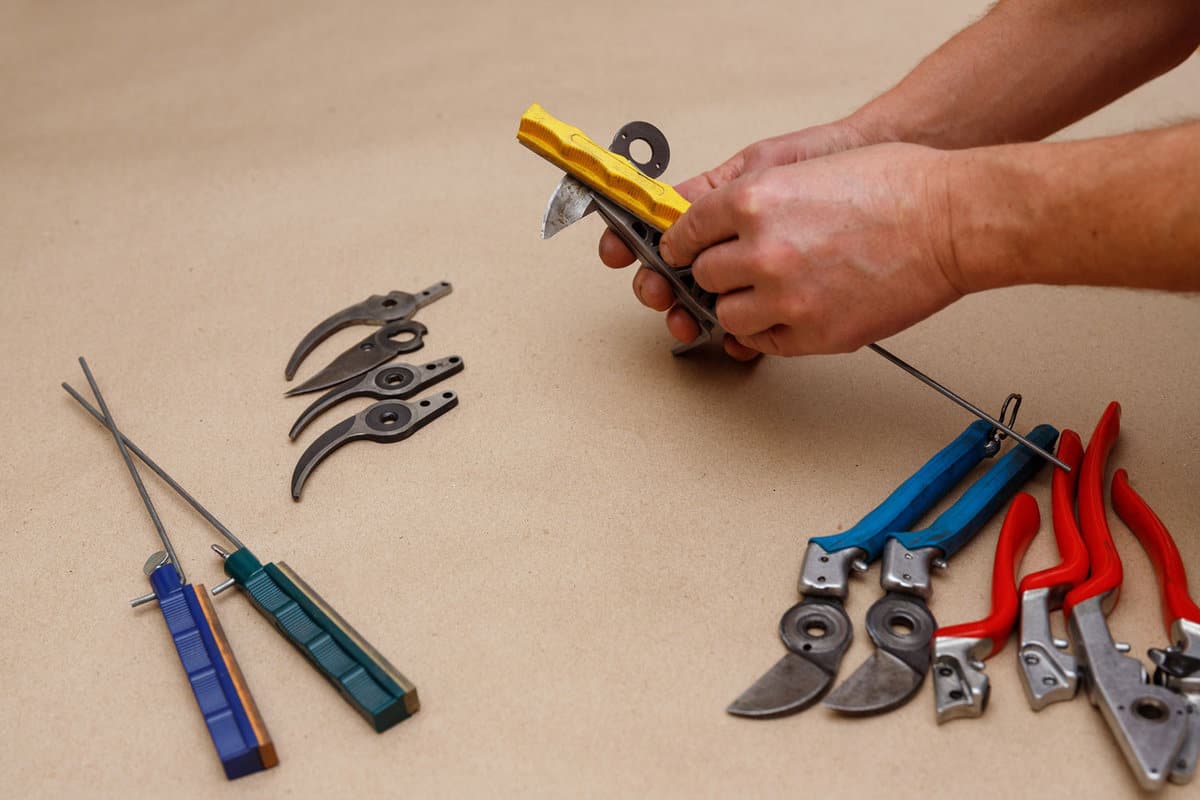
2. Sharpen the Blades
Once the garden shear are unobjectionable and ironical , it ’s time tosharpenthe blades . You ’ll involve a unsubdivided 10 - inch long John Mill file for the task .
See this file on Amazon .
harbor the file at a consistent slant along the cut edge of the blade and make certain to keep up even pressure while filing .

check that to focalize both slope of the shears for optimal results .
3. Finish the Blades
After the blades are taper , you should end them properly to ensure length of service and protection .
Start by reassembling the garden shears if you postulate to take them aside for any grounds .
Once reassembled , apply a light coating of vegetable oil to the shear to preclude rust and keep them lubricated .
This helps maintain their keenness and reduce friction during exercise , providing smooth and easier cuts for your gardening tasks .
You might also like : How To Adjust Grass Shears [ What To get laid ]
Sharpening Garden Shears: An Alternative Method
Sometimes , tool that are not straight off associated with woodwork , such as garden shears , might command like maintenance methods .
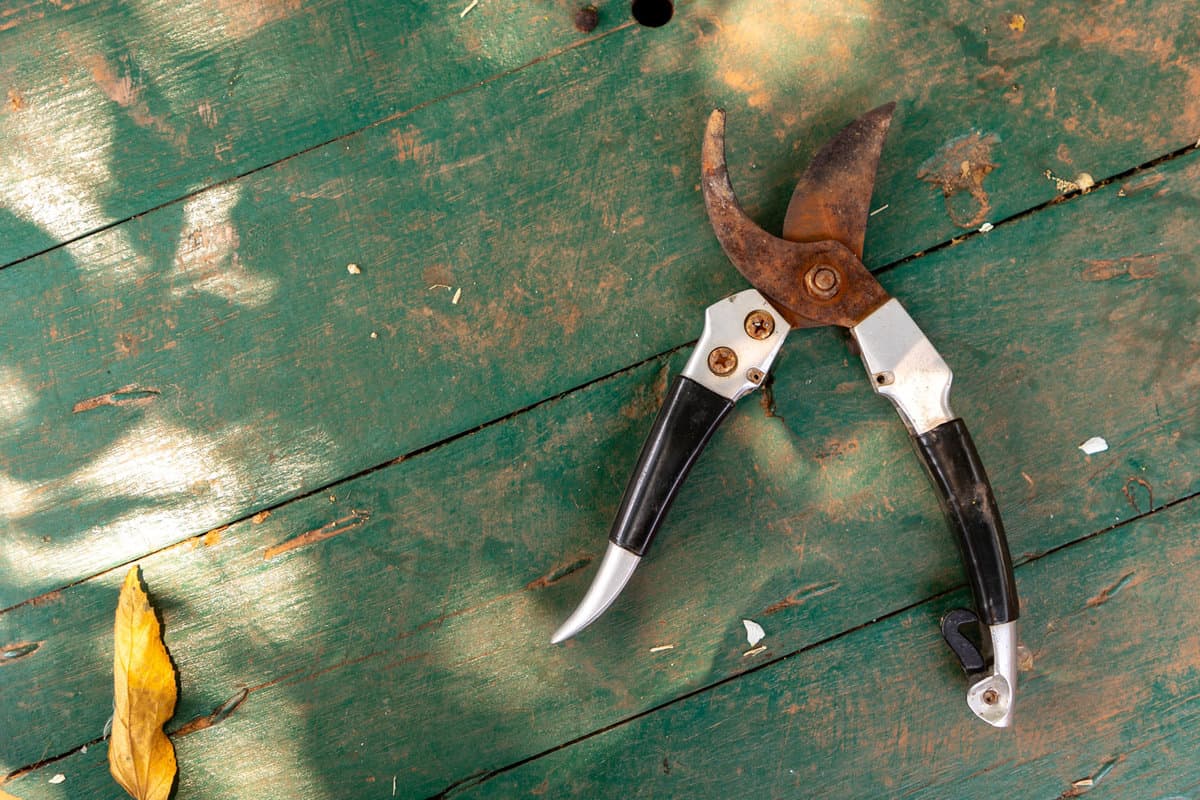
This guide offer an alternative method to sharpen garden shears , particularly a pair that have been neglected for a twelvemonth and have a wavy edge .
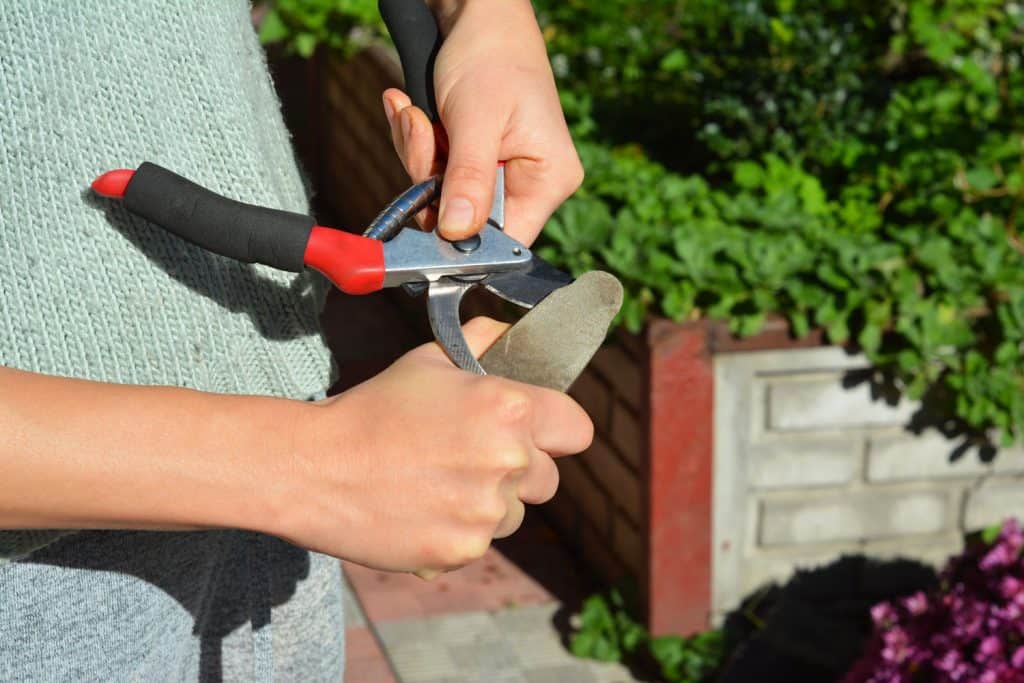
1. Disassemble the Shears
First , you ’ll involve to disassemble the shear by removing the bollock and bolt at the midpoint . This process is all-important for make clean and focalise the shear effectively .
2. Remove the Rust
Use a 250 - gritrock sandpaper to hit the rust on the shears . Be careful not to relate the sharpened border , but focus on removing rusting from the area surrounding it .
The determination is to get disembarrass of all the rust signs , which are indicative of neglectfulness .
3. Oil the Shears
Once you ’ve removed the rust , oil the shears to check that the rust does n’t hark back . apply a worthy lubricant and fan out it across the shears .
4. Clean Between the Blades
If you have a telegram brush , use it to clean between the vane and dispatch any remaining rust . Be careful not to scrape the sharpen edge .
5. Sharpen the Blades
After you ’ve absent as much rust fungus as potential , it ’s time to sharpen the shears . Use a diamond file to sharpen the compressed look of the shears .
Keep the file flat across the face and avoid lifting it up for a consistent sharpening essence .
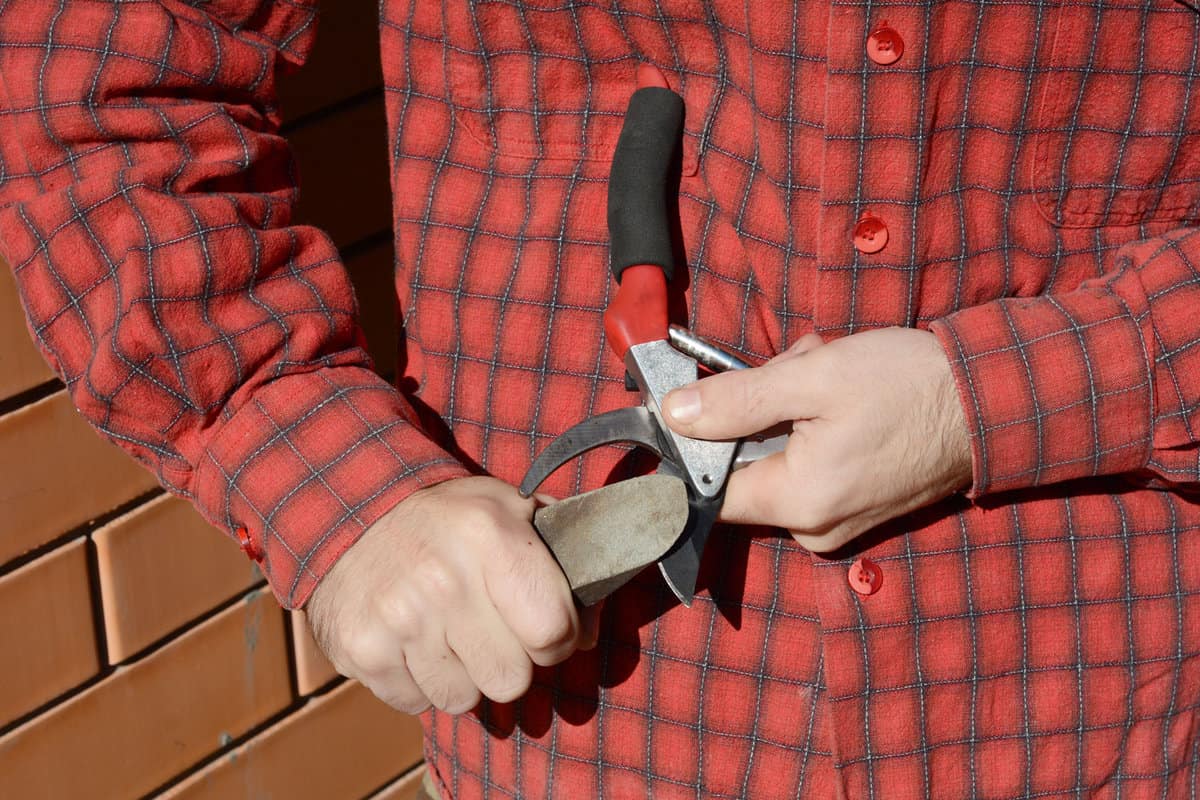
6. Secure the Shears for Sharpening
To in effect sharpen along the intact edge of the shears , you ’ll need to procure them , rather in a frailty . This provides stability while sharpening .
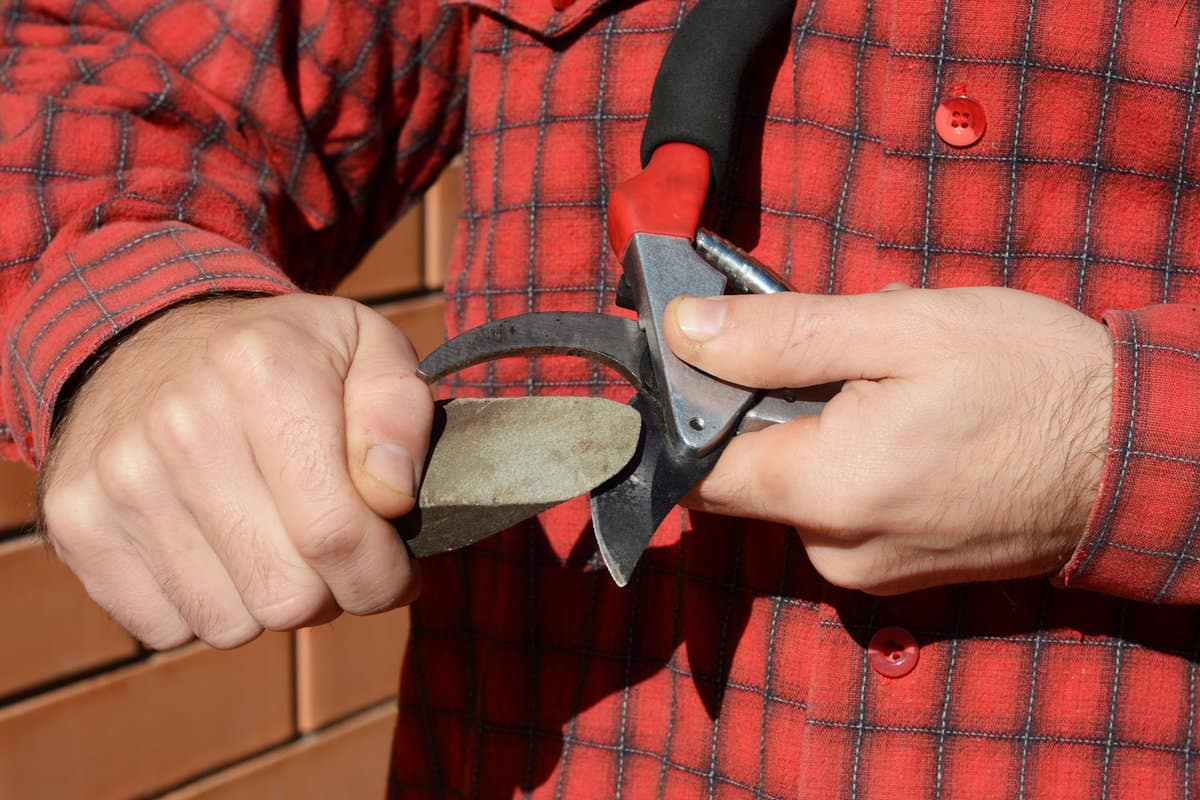
7. File the Blades
Use a three - cornered saw file or a minute flat file to point the blades . enforce adequate pressure and succeed the original cant of the blade to maintain its figure and potency .
you could then practice a finer diamond file ( if usable ) to further refine the edge .
8. Reassemble the Shears
Once you ’ve finished sharpening , it ’s time to reassemble the shears . Be sure to add the automatic washer and secure the nut and bolt out tightly .
9. Final Oiling and Testing
Apply a final coating of oil color to all the bare face of the shears . After put on the oil , opened and close down the shear multiple fourth dimension to spread it equally , then pass over off the overabundance .
You might also like to say : Best Garden Edging Shears [ 10 Options Every Gardener Should Know ]
Sharpening Garden Shears with a Whetstone
Giving Modern life to your garden shears can be easy accomplish by sharpening them with a whetstone . The final result is a rejuvenated tool , ready for precise and effective cut .
Here is a video tutorial that outlines the appendage for restoring the pungency of garden shears using a whetstone .
Begin by disassembling your garden shears . It allow you to get at the blades for sharpen and cleaning .
2. Clean the Blades
Once you ’ve break up your shears , place the blade and other parts in a bath of acetum .
allow them surcharge for a twosome of hour . The vinegar helps relax rust and grunge , making it easier to clean off the metal .
After the blades have hock , expend some steel wool to fray off the loosened rusting and grunge .
3. Prepare the Blades for Sharpening
With the brand clean , start by flattening the back of the blades with 120 - gumption emery paper on a lick plate .
If you do n’t have a lapping plate , there are several on-line tutorial that can guide you on how to make one .
Continue with this process until the sharpness has a flat Earth’s surface all the mode across .
remark that the backs of the blades are usually concave , which makes sharpening easier and reduces rubbing while cutting .
4. Sharpen the Blades
If your blade has a secondary chamfer , agree up with that slant for sharpening .
Lock your hand in place , keeping your articulatio radiocarpea and hands as stationary as possible while rocking on your pegleg and slew all the means across the cutting edge .
Then , alternate between the bevel and the back to remove any burr that has developed on the edge .
Switch to the other leaf blade , which might have a dissimilar angle on the chamfer , and repeat the same process .
Be indisputable to maintain a consistent slant and smooth stroke throughout .
Although you’re able to stop after this uncouth stone and the shears will work fine , you’re able to choose to get them as abrupt as possible by come along to finer stones , as shown in the video .
5. Polish the Blades
After the focalise process , you may utilise a leather strap loaded with rhomb spread , or any other hone chemical compound , for polish .
This unconscious process helps to remove any remaining small burrs and supply a smooth , sharp edge .
6. Reassemble the Shears
After sharpening , treat all the portion with a rust fungus - preventative like Boeshield T9 to protect them from future rusting . Then , reassemble the shear cautiously .
See this lubricant on Amazon .
7. Test the Shears
Once reassembled , try out your newly sharpen garden shear on a piece of paper or a exchangeable metier to see how well they trim back .
How to Maintain Razor-Sharp Garden Shears
For your garden shear to continually perform at their good , regular maintenance is life-sustaining .
To keep your shear in full condition , see to it frequent sharpening and proper storage on a regular basis .
Frequent Sharpening
Frequent sharpening aid keep your garden shears functioning at their best . The point process may vary depend on whether you have bypass pruners , anvil pruners , or pruning hook .
A general rule of thumb is to sharpen your shear when they are n’t making clean cuts , or at the beginning of gardening time of year .
So , make a use of regularly sharpening your shears to keep up their shorten efficiency .

Proper Storage
Always stack away your garden shears in a dry place , away from moisture , to avoid corrosion .
Additionally , keep your shears away from fry and pet to ensure safety .
In Closing
Sharpening garden shears using DIY method is a great way to hold the effectiveness and longevity of these gardening tools .
By following one of these wide-eyed , straight whole step , nurseryman can accomplish razor - shrewd resultant role without have to rely on professional sharpen services .
Once the shears have been sharpened , quiz the functionality of the cock by cutting some branches or grass .

This provides gardeners with the pledge that their DIY elbow grease have been successful and that they can continue with their horticulture tasks confidently .
With these easy - to - follow tips , gardeners can profit from maintaining their garden shear in optimal workings term , ensuring their garden remains orderly and tidy throughout the seasons !
