require a refreshed wrench on Halloween pumpkins without the fuss of sculpture ? Here are originative no - carve pumpkin designs you’re able to make !
These ideas are stark for family unit with untested child and do away with the mass and possible danger of carve pumpkin .
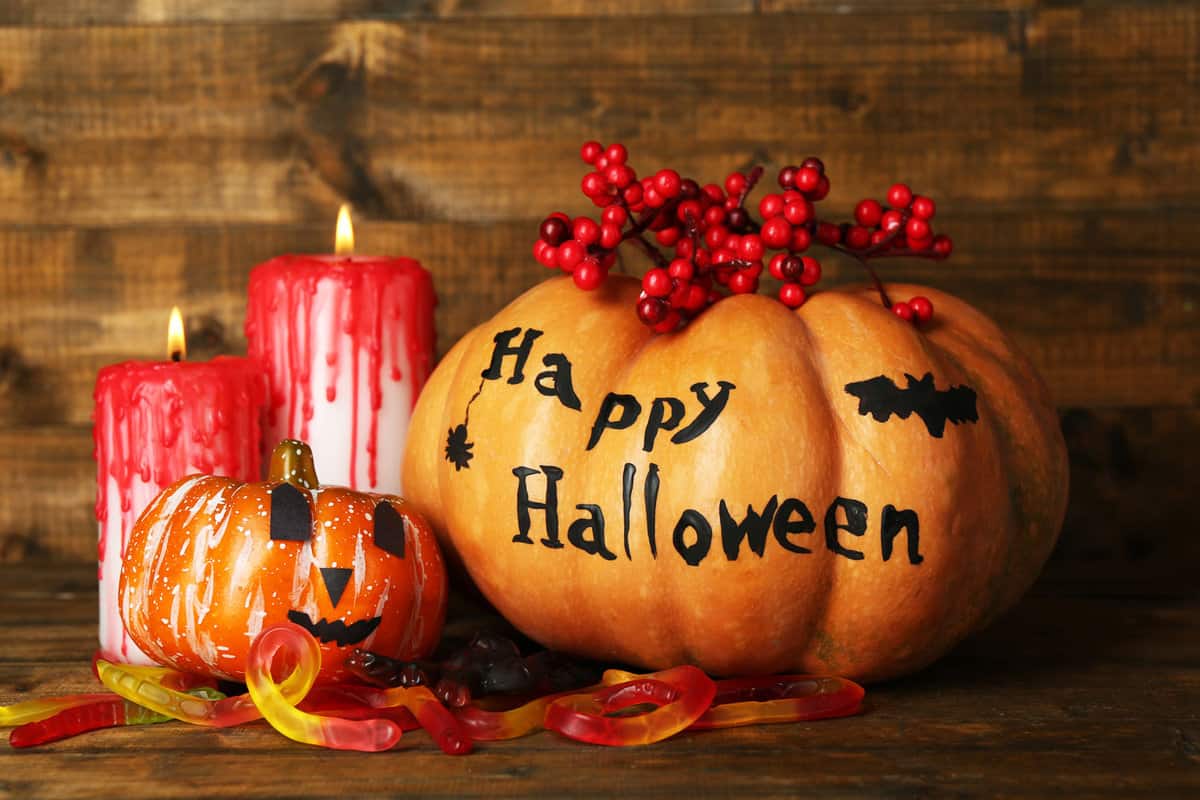
8 Creative No-Carve Pumpkin Decorating Ideas
Here are eight originative no - carve Cucurbita pepo decorating ideas sodding for a fun family Halloween .
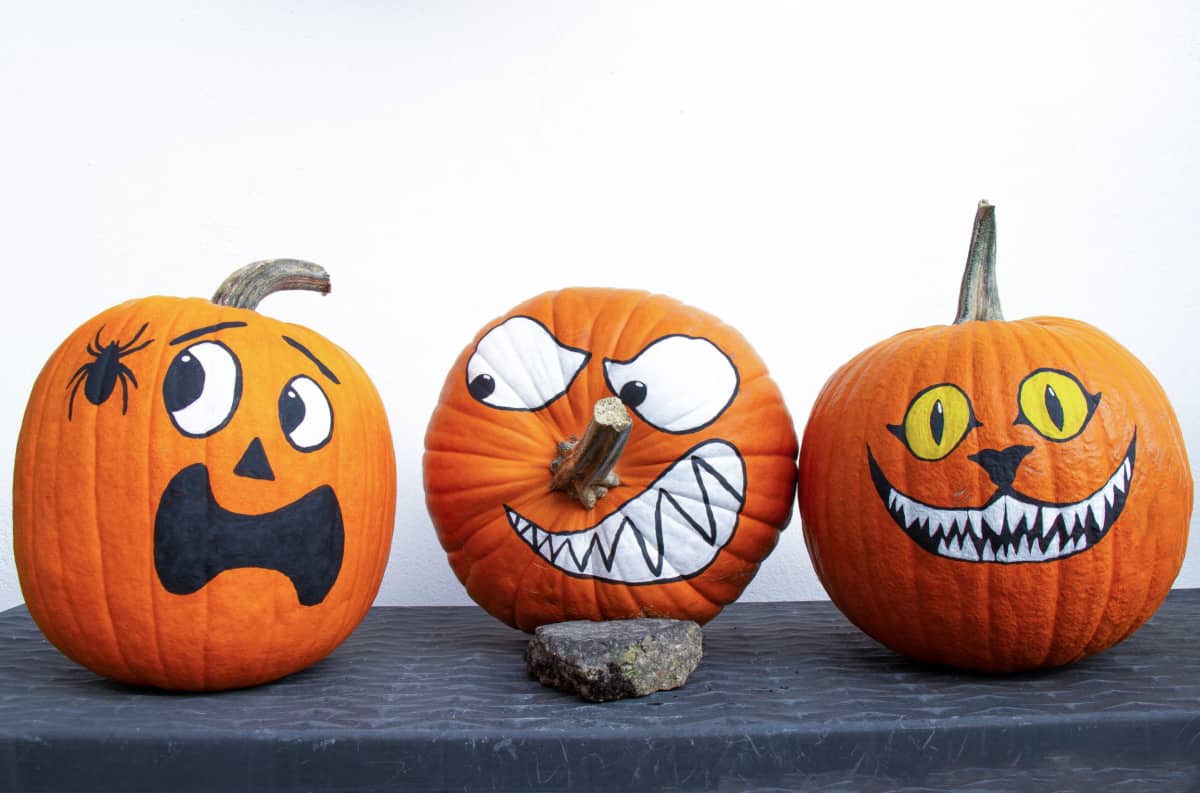
Painted Pumpkins
Painting pumpkins is a keen direction to get originative and bring personality to your Halloween decorations .
Use acrylic or spray paint and add embellishment like glitter or sticker .
attempt painting your pumpkin vine in non - traditional colors like pink , blue , or Au for a unique kink .
stair 1 : begin by cleaning your pumpkins with a dampish cloth and letting them dry completely .
Step 2 : If you want to create a specific design or pattern , expend painter ’s tape or stencil to produce the shapes .
Step 3 : Paint your pumpkins with your chosen colour using a paintbrush or spray paint . You may need to apply multiple coats to get the desired look .
Step 4 : If you want to protect your pumpkins from the elements , apply a layer of sealer spray . allow your pumpkins dry entirely before displaying them .
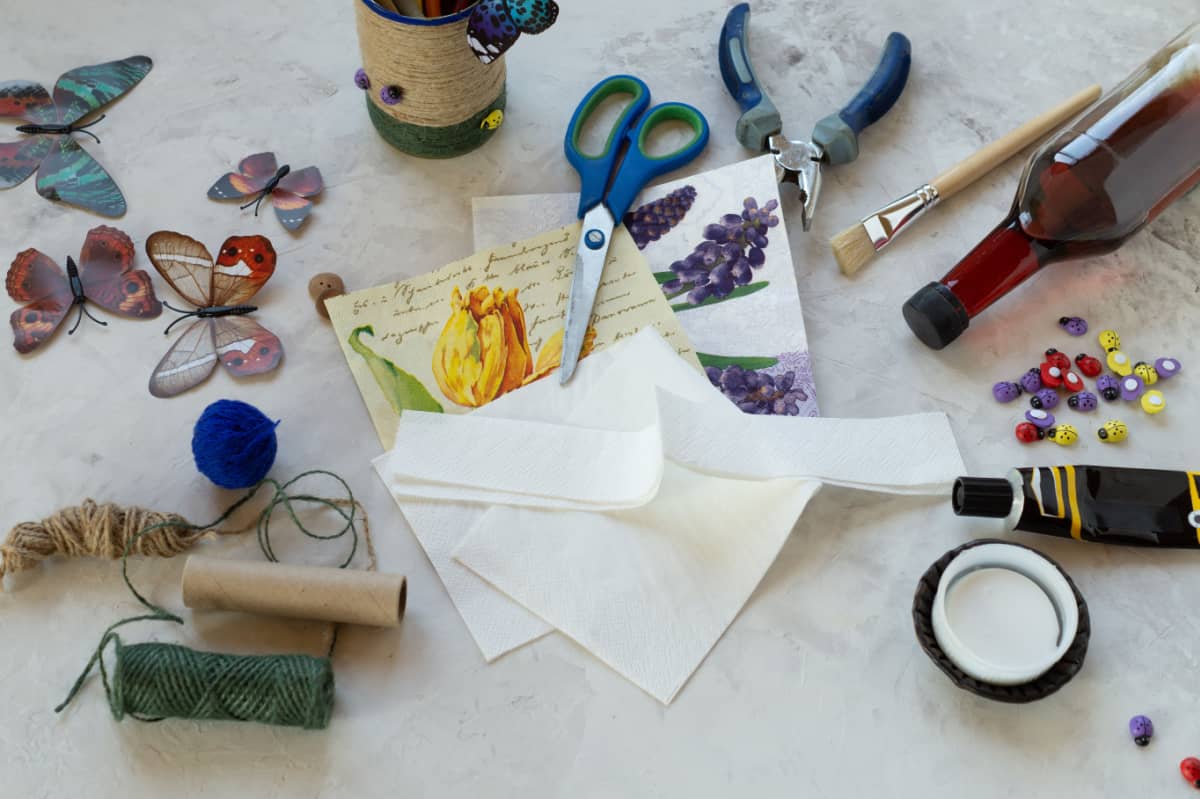
Decoupage Pumpkins
Decoupage is a fun and easy style to decorate pumpkins without any sculpture involved .
Simply cut out delineation or patterns from napkins or tissue theme and cling them to the pumpkin using Mod Podge .
you’re able to produce a collage of different designs or adhere to a specific topic , like Halloween or fall leaves .
dance step 1 : Cut out your tissue paper paper or serviette designs into small composition .
Step 2 : Apply a thin Mod Podge or blanched glue layer to a small section of the pumpkin ’s surface .
pace 3 : cautiously locate a piece of tissue newspaper publisher on top of the glue and smooth it out with your finger’s breadth or a paintbrush .
measure 4 : double steps 3 and 4 until you have extend the full autumn pumpkin ’s surface with tissue newspaper cutouts .
footfall 5 : Once you ’ve breed the autumn pumpkin , rent it dry whole for at least 24 hour .
Step 6 : After it ’s ironic , apply another level of Mod Podge or whitened mucilage over the total control surface to seal the tissue paper and create a lustrous finish .
Step 7 : Let it dry for another 24 hour before exhibit your beautiful decoupage pumpkin .
Sticker or Washi Tape Pumpkins
If you ’re looking for a no - passel , no - fuss way to decorate your pumpkins this Halloween , sticker or washi tape pumpkins are the perfect solution .
These pumpkin vine are easy to make and require minimum supplies , make them perfect for families with immature children .
Step 1 : make clean your Cucurbita pepo with a dampish cloth and let it dry totally .
Step 2 : resolve on your intent and gather your stickers or washi tape . If using washi tape , cut the tape measure to the desired length and shape .
Step 3 : Apply the spine or washi magnetic tape to your pumpkin , pressing down hard to ensure they bond .
Step 4 : If desired , use paint or marker to add medallion to your pumpkin . Display your finished pumpkin and enjoy !
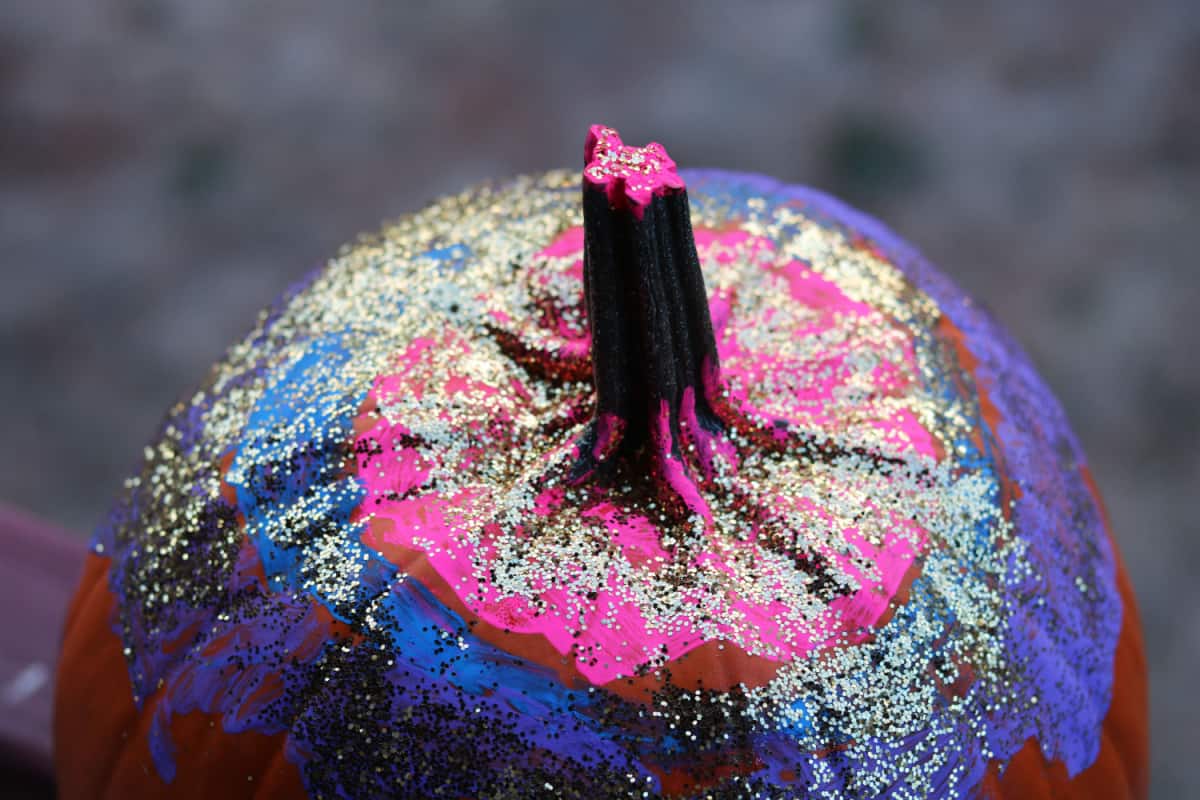
Glitter Pumpkins
If you ’re a fan of all things sparkly , then sparkle pumpkins might be your everlasting choice .
you’re able to use Mod Podge or glitter gum as the basis to adhere the glitter . If you prefer , you could also sparge at large glitter over a fresh pelage of pigment .
Be sure to do this project out of doors or in a well - ventilated orbit , as glitter can get mussy !
Step 1 : begin by cover your work surface with newsprint or a pearl textile to protect it from coruscation and mucilage .
pace 2 : Clean your pumpkins with a damp rag and allow them dry completely .
footstep 3 : stream some Mod Podge ( or your adhesive of choice ) into a small bowl or container .
Step 4 : Using a foam brush , apply a tenuous stratum of Mod Podge to the autumn pumpkin ’s surface .
stone’s throw 5 : Sprinkle coruscation over the Mod Podge , extend the entire surface . sway off any redundant glitter and permit the pumpkin vine dry completely .
Step 6 : reprise footstep 4 - 6 until you have achieved your desired stratum of glitter coverage .
pace 7 : Once the pumpkin is completely dry , add decorations such as medallion or rhinestone if desired .
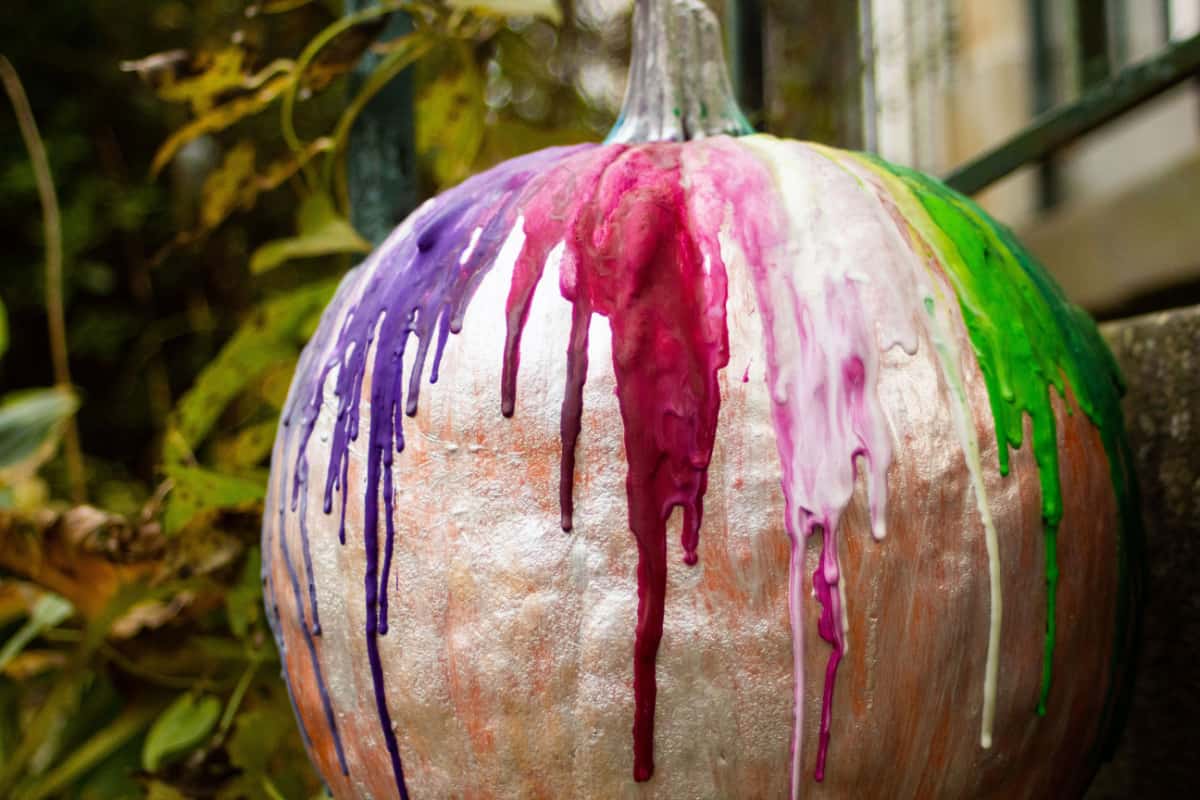
Melted Crayon Pumpkins
Melted crayon pumpkins are a fun and easygoing direction to beautify your home for Halloween . Plus , they ’re great for using broken crayon around the house .
Get originative and experiment with unlike color combinations to make your pumpkin vine rightfully singular .
Step 1 : go by covering your study Earth’s surface with a drop material or newspaper to protect it from mellow crayon sputter .
Step 2 : off any stickers or dirt from your autumn pumpkin and assure it ’s dry before you begin .
Step 3 : Use a hot glue hit man to seize crushed crayon pieces around the stem of your autumn pumpkin . Ensure they ’re evenly spaced around the root word .
footfall 4 : Once the crayon are attached , use a hair drier on high hotness to melt the crayons . you’re able to tilt the pumpkin differently to guide the wax as it drop down the sides .
footstep 5 : Keep melting the crayons until you ’re felicitous with the design . you’re able to tot more crayons if you require to create more layer of color .
Step 6 : Once finished , let the Cucurbita pepo cool , and the wax hardens . Your melt crayon pumpkin is now ready to display .
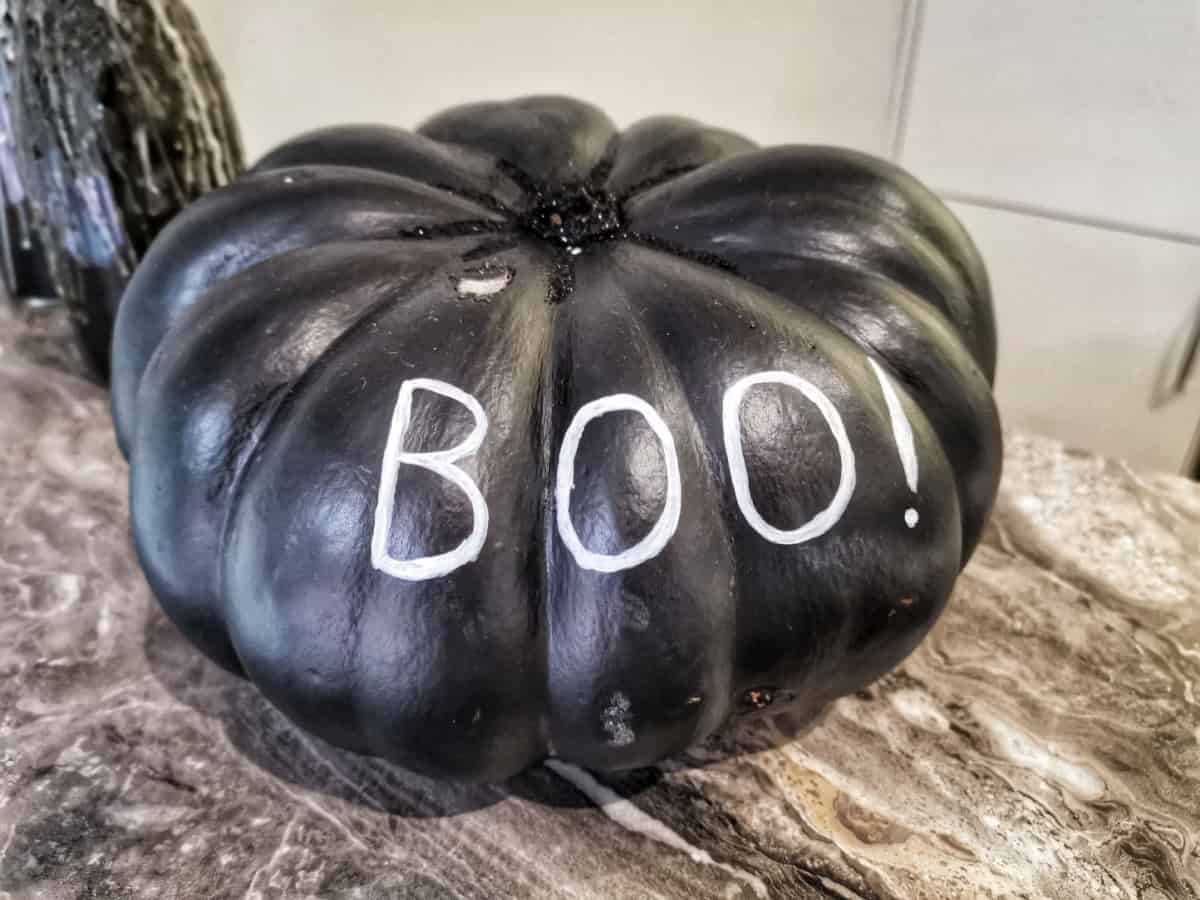
Chalkboard Paint Pumpkins
Chalkboard pigment pumpkin vine invite interactive fun .
Once dry , the chalkboard surface becomes a canvas for doodles , tic - tac - toe games , or flighty substance , make every pumpkin a author of ongoing family amusement .
tone 1 : Using your paintbrush , apply a thin stratum of chalkboard paint to the Earth’s surface of your autumn pumpkin .
Step 2 : let the first coat to dry completely before apply a second pelage .
Step 3 : After dry your pumpkin , get originative with chalk . Design spooky patterns or leave behind welcoming subject matter for antic - or - negotiator .
Step 4 : To clean your autumn pumpkin , wipe it down with a damp cloth and get going with a newfangled designing .
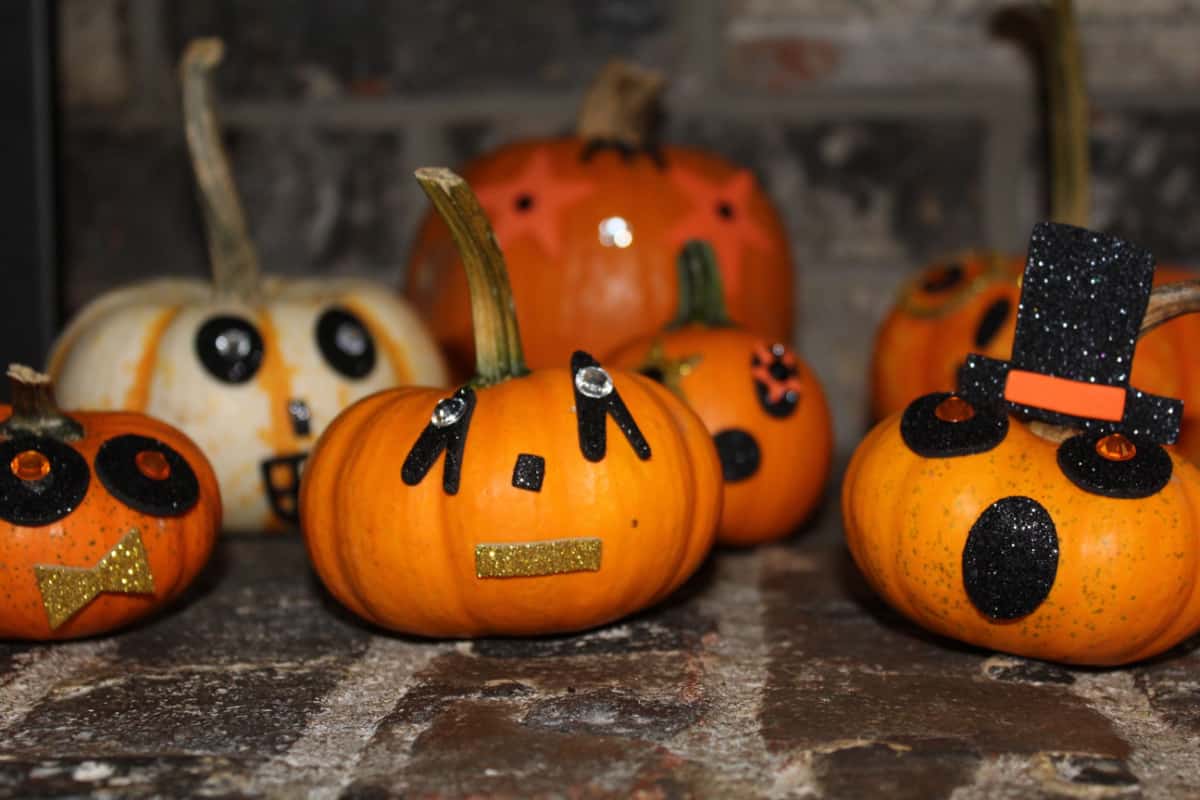
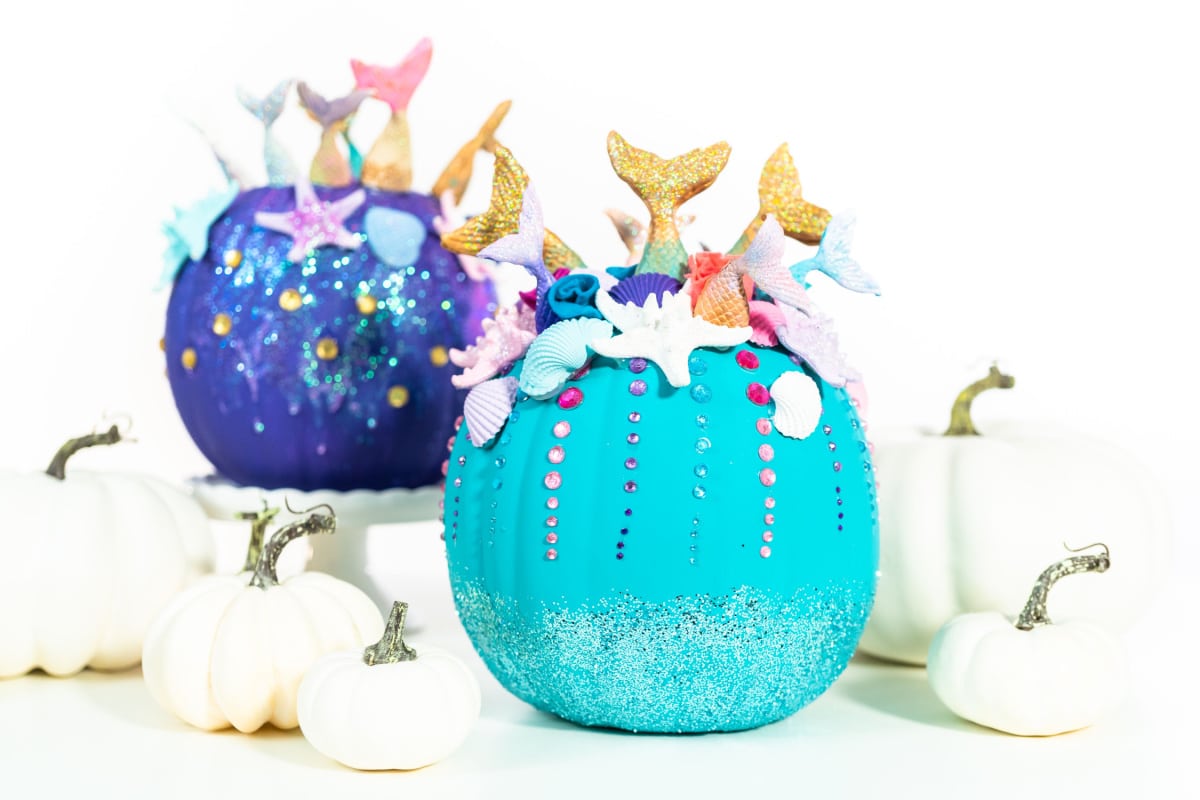
Rhinestone or Gem Pumpkins
impart a touch of glamour to the rustic charm of pumpkins , rhinestone or gem pumpkins can turn into a household - friendly jewelry crafting school term .
The shimmering death mathematical product are certain to catch the imagination of the piddling ones and tot up elegance to your Halloween interior decoration .
Step 1 : Decide on a design for your pumpkin . you may create a pattern or go for a more random look .
Step 2 : Apply a minor amount of glue to the back of a rhinestone and position it on the pumpkin vine . employ tweezers to help put the rhinestone if necessary .
Step 3 : Continue bring rhinestone to the pumpkin . Mix and oppose different colour and size to create a unique expression .
Step 4 : Let the glue dry completely before handling the pumpkin .
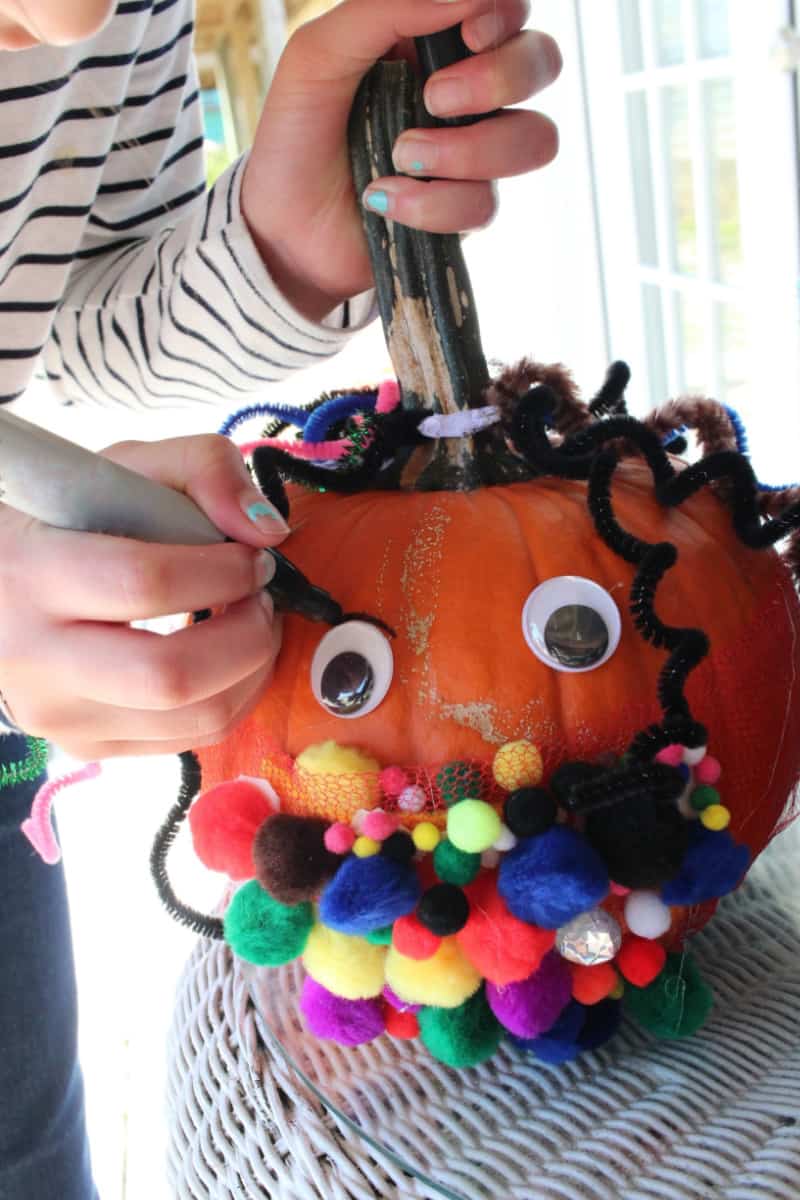
Feather or Pom Pom Pumpkins
Feathers or pommy poms can impart a hint of playfulness to your pumpkins . you could impound magic or slightly eerie fiber to your pumpkins .
Whether you choose endearing animals or cryptical figure , these soft add-on give your pumpkins a friendly Halloween twist .
Step 1 : commence by selecting the autumn pumpkin you require to dress . you may choose dissimilar size and colors of pumpkin to make a unique display .
Step 2 : Next , gather your feathers or pom pommy . you could apply various color and size to make a fun and playful aspect .
Step 3 : Using a paintbrush , utilize glue to the region of the pumpkin vine where you need to supply feathers or pom poms .
Step 4 : Carefully set the feathers or pommy poms onto the gum , press down lightly to ascertain they stick around .
Step 5 : carry on adding feathers or pom poms until you have achieved the desired face . Once the gum has dry , your plume or pom pumpkins are ready to expose .
Tips for Successful No-Carve Pumpkin Decorating
Decorating pumpkins without carving them can be a playfulness and originative way to celebrate Halloween with your family .
Tip 1 : Before decorating , clean the autumn pumpkin thoroughly with a moist material or paper towel .
bakshis 2 : Planning out your purpose before come out to decorate is also a good idea . you may chalk out it out on paper or use a stencil to guide you .
Tip 3 : Decorating a pumpkin can be messy , so protect your work domain with newspaper or a drop fabric .
Tip 4 : When choose a pumpkin vine for decorating , look for one that is liquid , free of blemishes , and has a matted aerofoil .
For more tips on choosing the staring pumpkin , read our clause onHow To select The Best Pumpkins At The Pumpkin Patch .
How To Preserve No-Carve Decorated Pumpkin?
You ’ve spend time of day creating the arrant no - carve pumpkin to decorate your home for Halloween .
Now that you ’re terminate , you require to guarantee it lasts as long as possible . Here ’s how to preserve your no - carve decorated Cucurbita pepo :
Keep Them Dry and Clean
As they grow , Cucurbita pepo expend most of their sentence in flying field surround by soil teeming with microorganisms , including fungi , bacteria , insects , and tinge .
These being and any eggs attached to your autumn pumpkin ’s rind can touch its longevity .
To safeguard your Cucurbita pepo , give them a rub - down , preferably with a bleaching agent rub , to remove any potential hitchhiking microorganisms or debris .
If you ’re interested about possible pests or disease feign your pumpkins , do n’t miss ourControlling Common Pumpkin Pests And Diseasesguide .
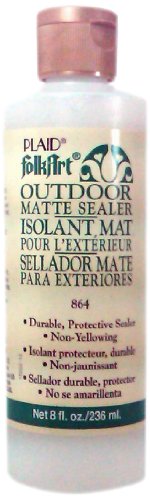
Seal Your Pumpkin
To preserve your pumpkin , you involve to varnish it . There are several ways to do this .
One way is to spray your pumpkin vine with a clean acrylic resin sealant , such as FolkArt Acrylic Sealer . This will help oneself protect it from wet and keep it look fresh for longer .
See this FolkArt acrylic outdoor sealer on Amazon .
Another way to seal off your pumpkin is to utilise a level of oil gelatin or vegetable crude to the exterior .
Avoid Direct Sunlight
Direct sunlight can stimulate your pumpkin to dry out out and decompose quicker . Keep your pumpkin in a shaded sphere , aside from direct sunlight .
If you ’re displaying it outside , ensure it ’s in a louche blot or cover it with a material to protect it from the sun .
Combining Different No-Carve Decorating Techniques on a Single Pumpkin
combine different no - carve decorating techniques on a single pumpkin vine is a antic way to produce a visually catch centerpiece .
For model , you could start by painting your pumpkin with vibrant coloring material , adding glisten accents for some sparkle , and in the end , using washi magnetic tape to make intricate pattern .
The combination adds deepness and singularity to your Halloween medal , piddle each pumpkin a work of nontextual matter .
Experiment and let your sept ’s resource guide crazy to create one - of - a - kind chef-d’oeuvre !
Final Thoughts
You ’ve made it to the end of our article on No - Carve Pumpkin Decorating Ideas for a Fun Family Halloween .
We hope you ’ve enjoyed reading it and found some intake for your Halloween decorations this year .
And once Halloween is over , and you ’re pondering what to do with those pumpkin , here are23 Things To Do With Pumpkinsfor fun and innovative idea .
