Taking on the challenge of rescuing a Bird of Paradise plant is a carry through journey that marries the satisfaction of indoor gardening with the exhilaration of breathing life back into a struggling plant .
Like all living organisms , plants may occasionally stumble and require additional nurturing .
This guide , rooted in a TikTok video by groveplanthub , provides an insightful roadmap to rejuvenating a pretermit Bird of Paradise plant and reinstate it to its natural splendor .
Step-by-Step of Rescuing a Bird of Paradise Plant
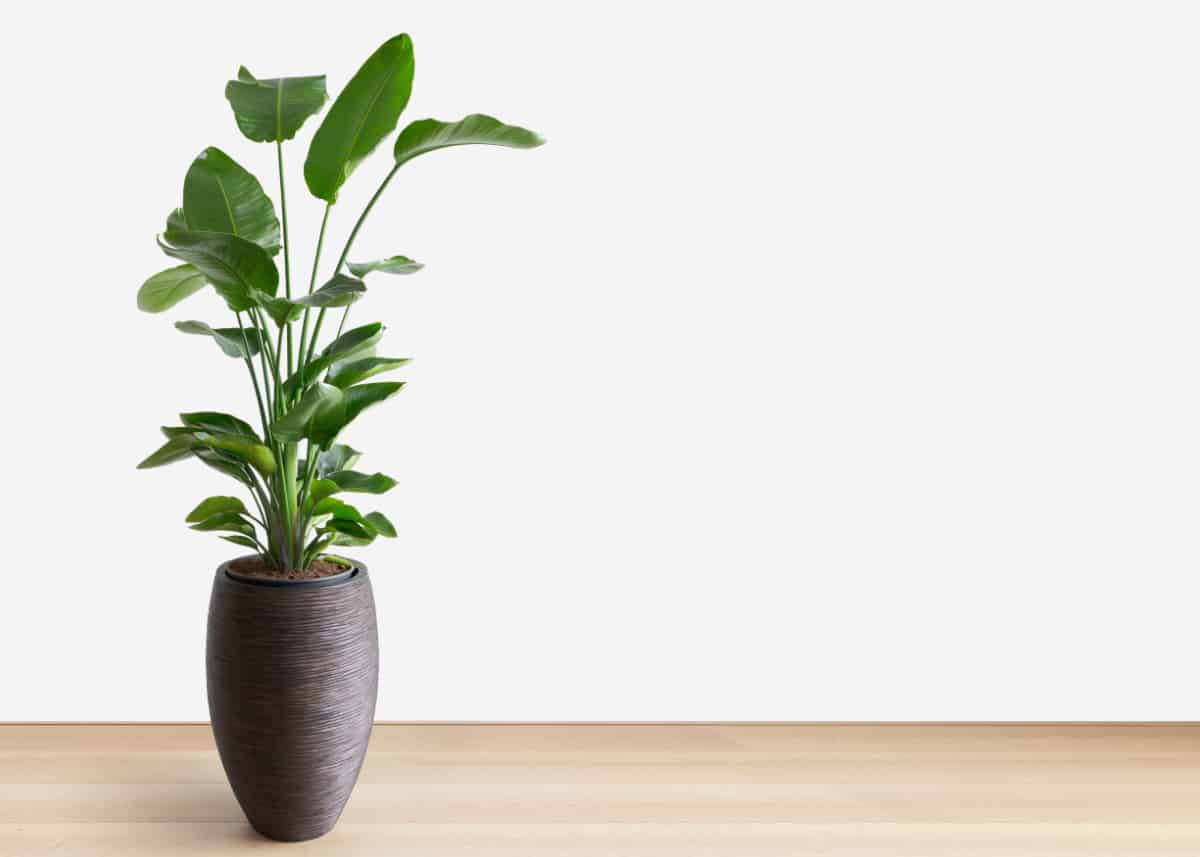
The Bird of Paradise is a tropical industrial plant admired for its vibrant flowers .
Beyond its beauty , rescue such plants is vital as they bring to our well - being by purify indoor atmosphere .
If you want to get a warm overview of the process before we stab into the contingent of each step , check out the TikTok video from groveplanthub below .
Here ’s a elaborate step - by - step guide for you !
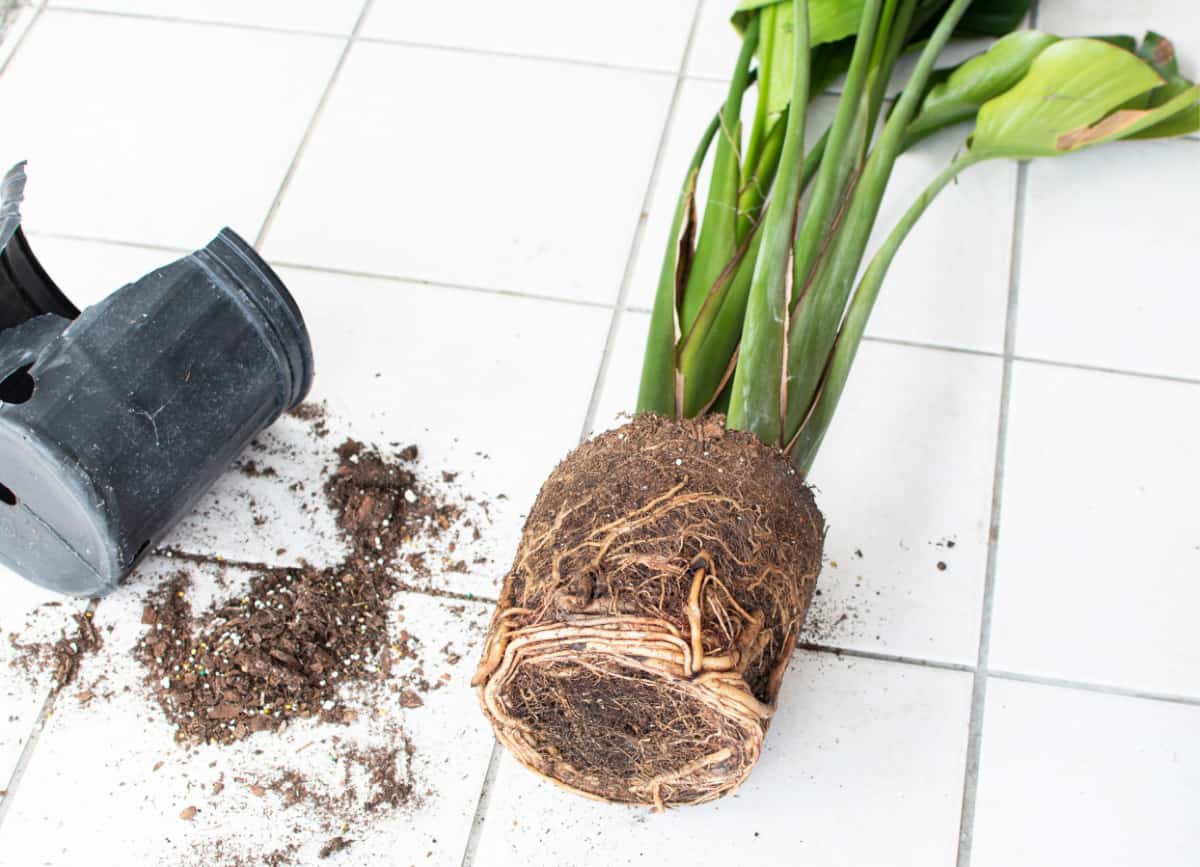
1. Remove the Plant from Its Pot
The first step was to take the Bird of Paradise out of its plenty .
The plant is more complicated than expected in the picture because the root word system was tightly bound and entwine with the hatful ’s drainage layer .
The soil appeared to be old , and extracting the works from its container took significant cause .

2. Inspect the Root System
Once the plant was lastly take away , the root system was examine .
The roots had farm through and around the entire drainage level of the hatful , which was quite a surprising visual modality .
The root system of rules was dim and overgrown , indicating that the works urgently needed repotting .

3. Save the Roots
Despite the complexity of the ascendent organisation , the decision was made to salvage as many theme as potential .
This process was metre - go through and meticulous , involving cautiously remove little radical to rivet on preserving the large , more accomplished ones .
This was crucial in ensuring the industrial plant ’s next wellness and increment .

4. Observe the Roots
Interestingly , the plant had developed a natural selection mechanics .
It had squeezed its large root through the small drainage holes , only to re - establish them as large ascendant once they had passed through .
This discovery was impressive but challenging , adding complexness to the root preservation process .

It demonstrated the flora ’s adaptability and will to survive in less - than - ideal conditions .
5. Deal with Root Casualties
Unfortunately , not all roots could be economize , and lose some was an inevitable part of the process .
The focus was to remove the plastic layer interlace with the roots and cleared as much sometime soil as possible .
This was a delicate task , but it was necessary to avoid damaging the remain healthy root word .
6. Prepare the Plant for Repotting
After the origin system was free from the old potentiometer and soil , it was time to prepare the plant for its new home .
The roots were detangled , and old territory was removed , allowing the plant to breathe and absorb nutrients more effectively .
This step was decisive in advance the plant ’s succeeding health and ensuring its successful transition to a new flock .

7. Repot the Plant
The flora was then repot in a slightly declamatory sess , fill up with a soil mix that promotes secure drainage .
extra perlite , charcoal , and nightcrawler castings were included to enrich the soil and benefit the plant ’s growth .
Click here to see this perlite on Amazon .

Click here to see this earthworm casting on Amazon .
The Modern skunk was not importantly larger than the old one , as the Bird of Paradise does n’t prefer too much urine , and a larger can could take chances overwatering .
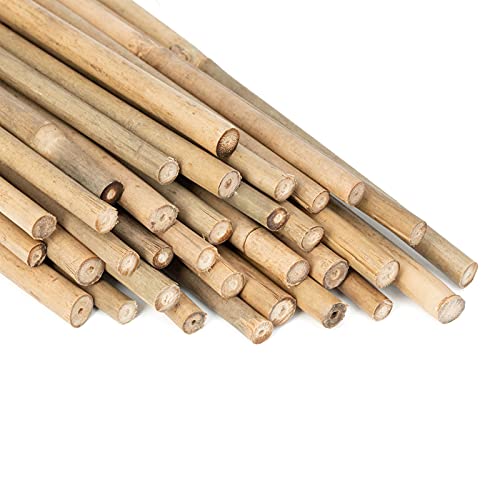
8. Provide Support
After repotting , the plant life was confirm in bamboo stakes and plant - dependable taping .
snap here to see these bamboo stakes on Amazon .
Click here to see this plant - secure tape on Amazon .

This helped the plant assert its structure without having to bear all of its own weight .
This step was essential as it ensured that the plant was stable and secure in its new surroundings .
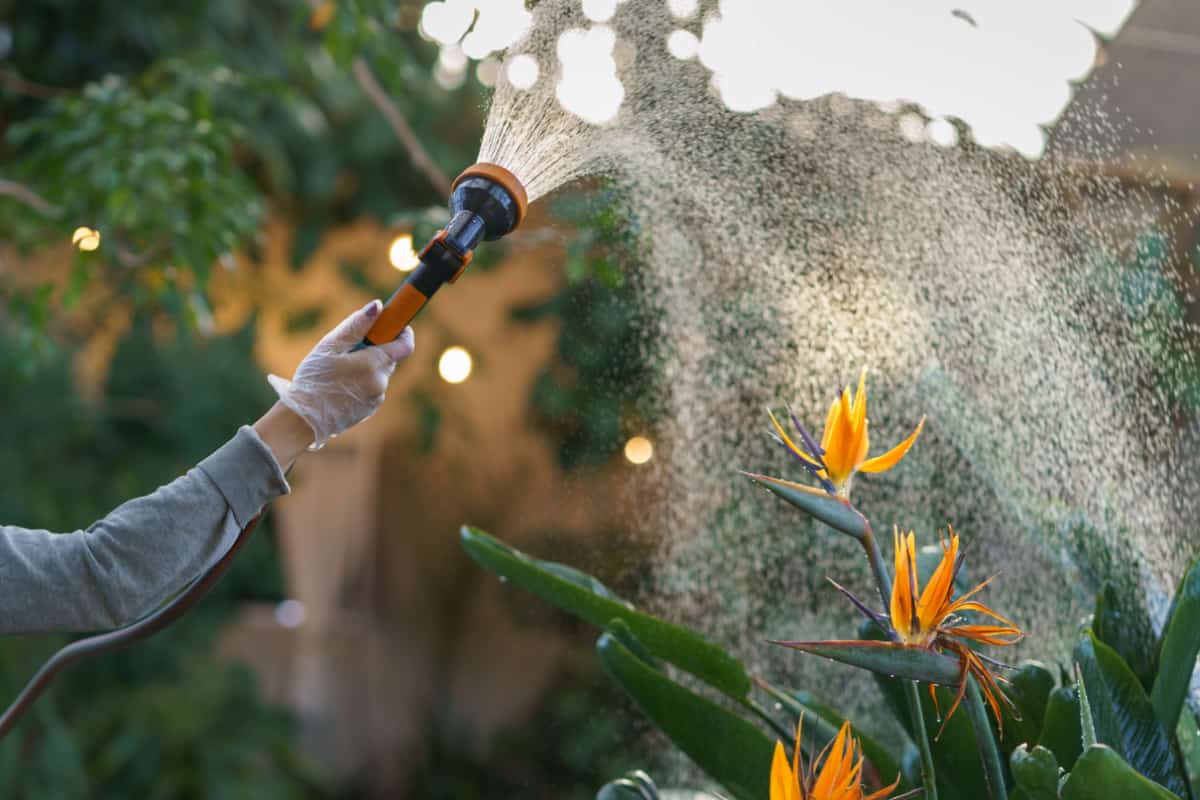
9. Water and Mist the Plant
Once firmly staked , the plant was water thoroughly as the new soil was quite dry .
It was also lightly misted to emulate a more tropic environment , much like the Bird of Paradise ’s natural habitat .
This terminal touch helped the plant set to its new pot and provided a refreshing and nourishing depart in its new house .
The Rewarding Journey of Plant Rescue
The transformation of this Bird of Paradise plant swear out as an example of the resiliency of nature and the wonders of plant tending .
Despite the challenging and long-winded process , the result was a healthier , happier plant quick for a fresh jump .
Although exact , the journey of flora deliverance put up profound rewards that extend beyond the esthetical appeal , contribute to both well - being and the saving of nature .
For more gardening hacks , check out the articles below .
Stylishly Support Your Pothos With This Incredible Copper Wire Hack
Watch How A Broken Pot Became A Stunning Succulent Arrangement
