Saving a dying Calathea can seem overwhelming , but it ’s achievable with the right coming . These striking , colourful plant life ask specific tutelage , and even a minor mistake can make them look ailing . Here , we ’ll walk you through seven stair to harbour your Calathea back to health , help its gorgeous leaf prosper once again .
Step 1: Check Your Watering Routine
Calatheas are highly raw to overwatering or underwatering , so getting the balance rightfield is of the essence . To determine if it ’s time to water , wedge your finger into the soil — if the top column inch feels dry , it ’s prison term to water system . annul letting the soil become bone dry , as this can stress the plant life . Use separate out or extract weewee alternatively of tap water , as tap water often hold chlorine and other chemical that can harm the theme and discolor the leaves . Monitor wet levels regularly using a moisture meter if necessary . Remember that the goal is to keep the dirt evenly moist , not waterlogged .
How Often Should I Water Calathea?
Watering a Calathea decently ask striking a balance between too much and too little water . Ideally , you should irrigate your Calathea every 5 - 7 daytime , depending on the season and environs . During the growing time of year ( spring and summer ) , the plant may require more frequent lachrymation , while in the cooler months , you’re able to space out the lachrymation interval . Always contain the top in of the soil — if it feel dry , it ’s time to water . Use room - temperature , filtered , or distilled urine to forbid damage from chlorine and other chemical substance . Consistency is key , so establish a regular routine while close honour the plant life ’s penury .
How Do You Save Overwatered Calathea?
Saving an overwatered Calathea require quick natural process to keep etymon rot and further wrong . Start by cautiously hit the plant from its lot and inspecting the roots . level-headed root are clean and firm , while rotten stem appear mushy and dingy . prune away any regard roots using sterilized scissors . Next , allow the plant to dry out slightly by placing it on a fair surface . Repot the Calathea in sweet , well - drain soil and ensure the pot has tolerable drainage cakehole . Adjust your tearing act to avoid overwatering in the future , and only water when the top inch of filth feels dry . Be patient as the plant recovers , and monitor its condition closely .
Step 2: Inspect the Leaves
The precondition of your Calathea ’s foliage provides valuable clues about its health . If you observe browning edges , it could be due to low humidity , while curl up leaves usually point that the plant is n’t getting enough water . Yellowing leave often signal overwatering or poor drain . Take sentence to dress away damaged or dead folio with sterilized scissors , as this helps the plant redirect its Department of Energy toward goodish foliage . After trimming , observe any change to ensure you ’ve treat the inherent effect . Adjust watering , humidity , or light levels as needed base on the signs your plant is read .
How to Cut Dead Leaves off Calathea?
Trimming stagnant leaves from a Calathea is an essential step in maintaining its wellness and coming into court . Start by identifying the farewell that are completely brown , yellow , or curling and no longer contributing to the plant ’s vim . Use clean , keen scissors or prune shear to make precise cut at the base of the foliage stem , close to the dirt short letter . This minimizes stress and prevent any likely damage to healthy parts of the plant . Always sterilize your putz before and after pruning to foreshorten the hazard of spreading disease . remove stagnant leave take into account your Calathea to focus its get-up-and-go on newfangled growth and healthier foliage .
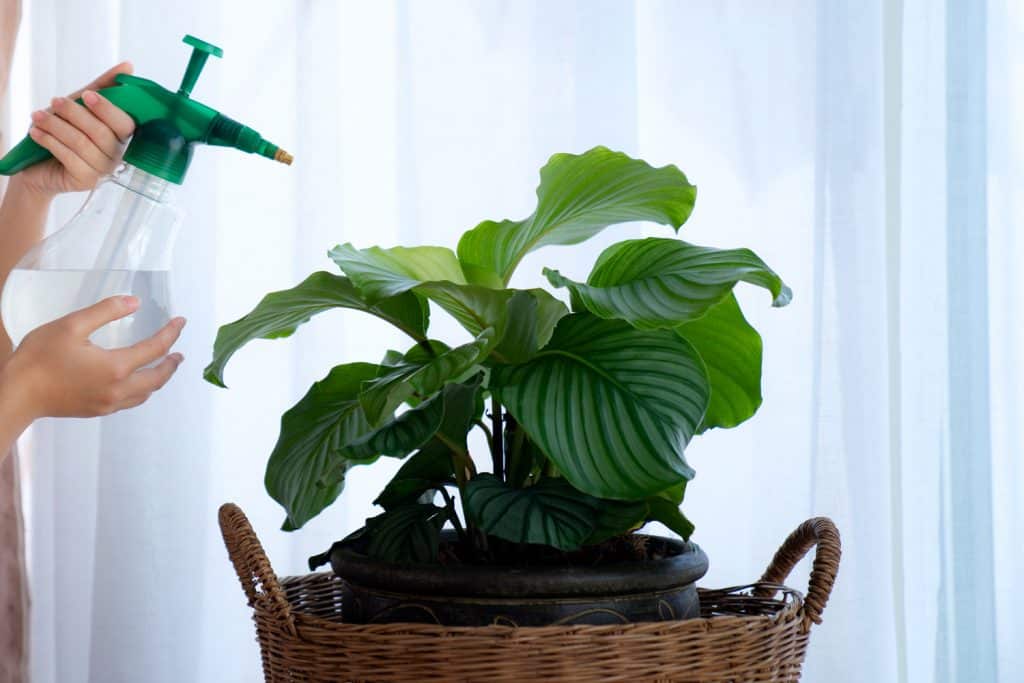
Step 3: Increase Humidity Levels
Calatheas are native to tropical rain forest , so they expand in environments with gamy humidness . Aim to maintain humidness tier above 50 % , and ideally closer to 60 - 70 % . A small humidifier placed near your plant is the most effective solution . If a humidifier is n’t an option , see grouping your Calathea with other plant life to make a microclimate . you could also mark the pot on a tray fill up with pebble and water — just ensure the bottom of the pot is n’t submerge . Lightly misting the plant ’s leaf can also help , but avoid inordinate misting , as this can further fungous growth . on a regular basis check your humidness levels with a hygrometer to ensure consistence .
Step 4: Assess Light Conditions
right ignition is crucial for your Calathea ’s wellness , as both too much and too minuscule light can cause problems . Direct sun can sear the leaves , do them to fade or develop burn spots . On the other hired hand , insufficient igniter will slow up growth and make the leaves lose their vivacious colors . Place your Calathea in a smirch that receives bright , indirect Inner Light , such as near an east - facing window . If your windows let in potent sun , practice sheer curtains to permeate the rays . You might also consider supplementing with grow lights during darker months to mimic the dappled light conditions of its instinctive home ground .
Step 5: Repot If Necessary
Over metre , Calathea roots can become cramped , especially if the plant has been in the same pot for more than a year . To check out if repotting is require , look for root develop out of the drain holes or circle the inside of the pot . If you notice these sign , choose a new pot that ’s 1 - 2 column inch larger in diameter . habituate a high - quality , well - draining dirt mix , preferably one with peat , perlite , and coco coir , to retain moisture without waterlogging the roots . When repotting , gently relax the radical ball to absent any wad stain and scrutinize for rot . Fresh soil will provide new nutrients and give your Calathea room to produce .
Step 6: Monitor Temperature
Calatheas are particular about temperature and ca n’t tolerate sudden changes or draft . Ideally , keep your plant in a room with temperatures between 65 - 80 ° F . invalidate placing it near air travel conditioning release , radiators , or drafty windows , as these can cause accent . Temperature tenseness often leave in droop leaves or slow maturation , so maintaining stability is all-important . If your home experiences inhuman snap , consider using a heat mat to preserve affectionateness . logical temperature will mimic the Calathea ’s natural environment and avail the plant life stay on healthy and vibrant .
Step 7: Watch for Pests
Calatheas can attract pests like spider mites , mealybug , and aphids , which flourish in ardent , humid environments . Inspect your plant ’s leaf — both the top and underside — regularly for signboard of pests , such as webbing , petite back breaker , or steamy residue . If you retrieve pests , keep apart the plant immediately to prevent the infestation from spread .
How to Deal with Pests in a Calathea
Pests can cursorily become a job for Calatheas , peculiarly in quick and humid conditions . To bring off pests effectively , inspect your plant life regularly , focusing on the underside of the leaves where they often hide . If pestilence are found , isolate the moved plant to prevent the infestation from spreading . Treat it with insecticidal Georgia home boy , neem vegetable oil , or a diluted alcohol solution , applying soundly to all affected areas . Repeat treatment every few days until the gadfly are gone . maintain good flora hygiene and humidness levels will help keep your Calathea pest - free in the long run .
Reviving a struggling Calathea takes forbearance , consistency , and heedful notice . Start by addressing its lachrymation pauperism and gradually set the humidity , lightness , and temperature to recreate its ideal conditions . Keep a close eye on the leave-taking for any augury of improvement or further issues , and act quickly if problems arise . Regularmaintenanceand pest control will ensure your plant stays healthy . With the right care , your Calathea can once again become a sensational centerpiece in your home , showcasing its beautiful patterns and lush foliage .

Shutterstock

Shutterstock
Shutterstock

Shutterstock

Shutterstock

Shutterstock

Shutterstock

Shutterstock

Shutterstock

Shutterstock

Shutterstock

Shutterstock

Shutterstock
