With their big , beautiful salad days of Battle of Magenta and orange red , the Christmas cactus is almost synonymous with the holiday . Plus , they ’re an well-situated - to - grow succulent that can summate sweet verdure to your home all year . However , if you ’re think about purchase one , you might be wondering what the best pot size of it is . Well , you ’re in the right place ! We ’ve done the research and will assure you everything you require to know about potting your Christmas cactus justly here in this article .
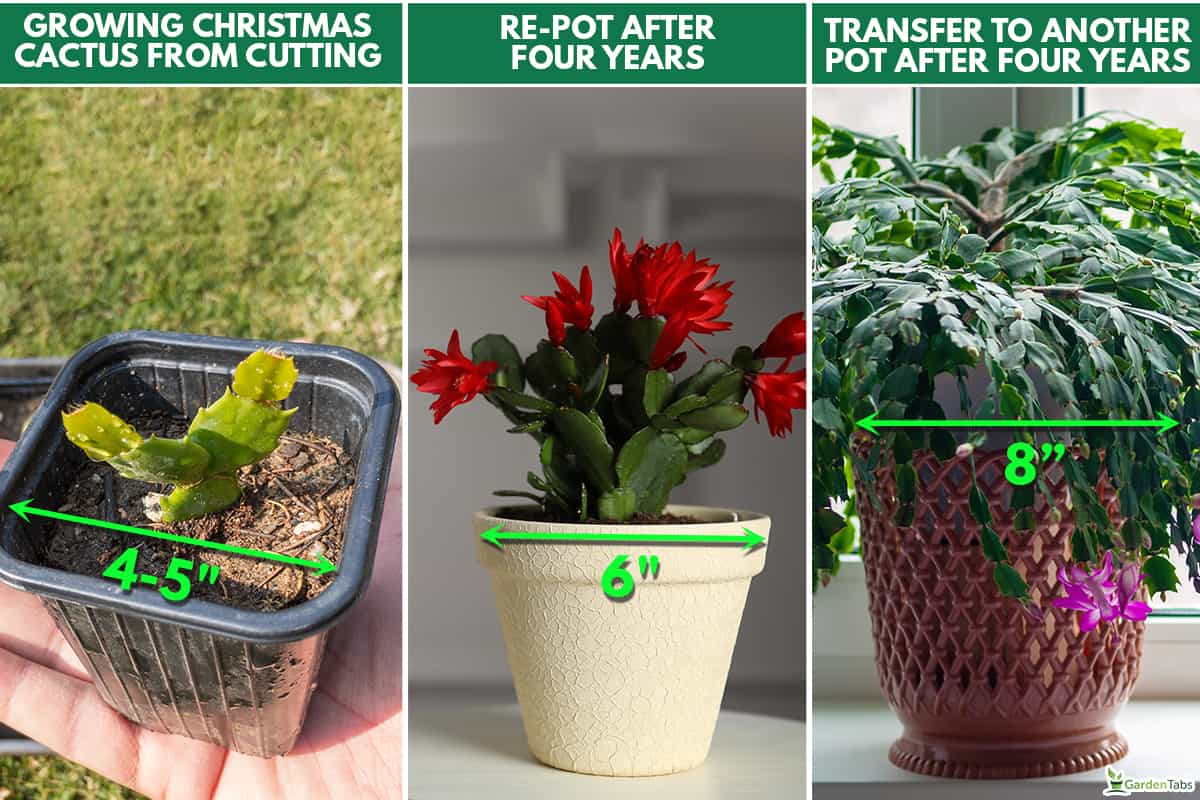
If you ’re grow newfangled Christmas cacti from cuttings , use a 4- to 5 - inch pot . After that , Christmas cacti should be re - potted about once every four years in a gage that is 2 in bigger than the old heap . This means that if your Christmas cactus started growing in a 4 - inch toilet , you should re - pot it in a 6 - inch stack four years later . Then , four years after that , re - mickle it in an 8 - in grass . They prefer close flowerpot , so do n’t go too much bigger than the previous kitty size .
You might have other questions about pot Christmas cacti , and we ’ll do them right here in this clause . So keep reading to learn more about caring for this merry plant life !
What Size Pot Is Best For Christmas Cactus?
Since Christmas cacti favour a good deal that fits snugly around their roots , it ’s best to err on the side of too small rather than too large . If you ’re grow a Christmas cactus from a cutting , this commonly means a pot that is 4 to 5 inches large . Very petite cutting might need an even smaller commode of 2 or 3 inches .
However , if you ’re re - potting a more established works you buy at a memory board , prefer a batch that is the same size as its current plenty or just one sizing big . This will give your plant some growing room , but not too much .
For a Christmas cactus you ’ve had for a phone number of age , plan to size the pot up every four age or so . This means that if your Christmas has been growing in a 4 - column inch potful , re - pot it in a 6 - inch pot after four year .
Then , four years later , size it up to an 8 - in skunk . Continue in this figure for the balance of the Christmas cactus ’s life .
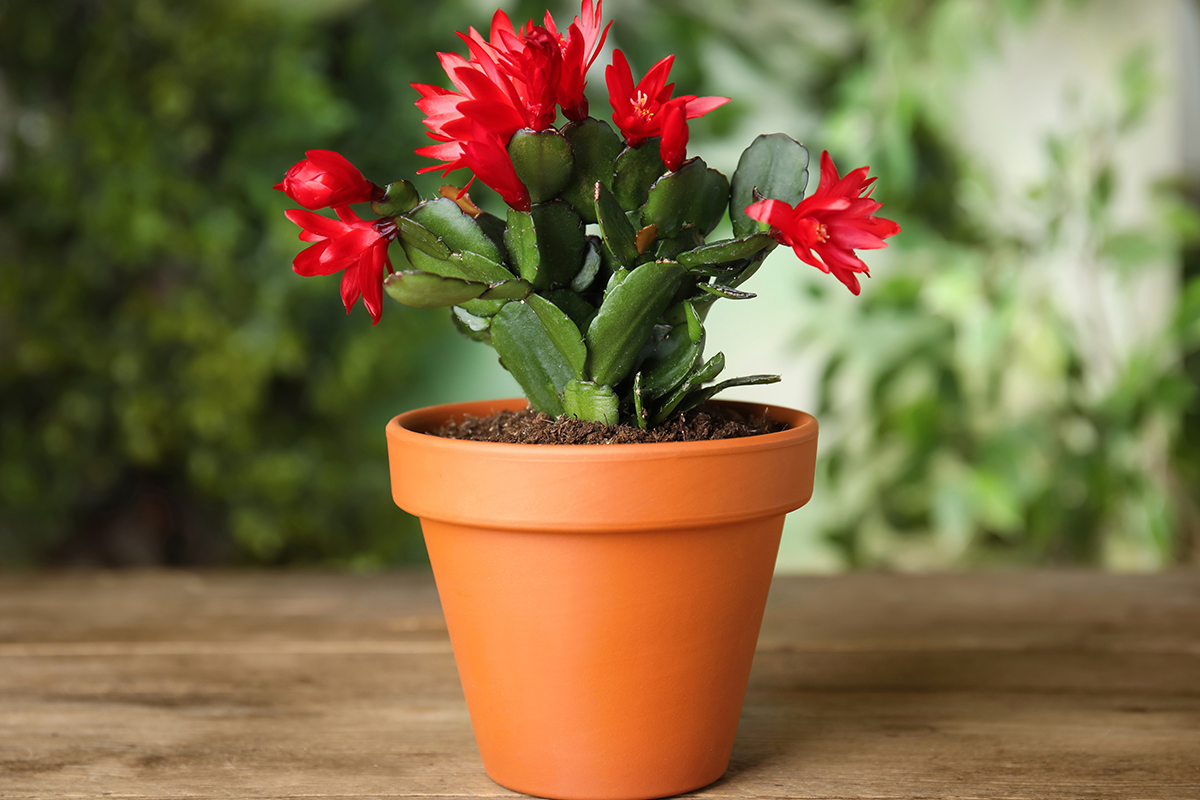
Christmas cacti areactual cacti , so they need plentitude of drain . This means that your pot will also need at least one drainage kettle of fish on the bottom .
What Kind Of Pot Is Best For Christmas Cacti?
Because Christmas cacti want their roots to stick around well drained , clay pots are the best choice . That ’s because clay is porous , which allow for plenty of airflow and even helps absorb some of the supernumerary water .
Just keep an eye on your plant ’s water system levels , particularly in the summer . The pot can potentially souse up too much water , particularly if it ’s in the Lord’s Day .
If you ’re looking for clay pot to buy , D’vine Dev offers a bent of 3 - column inch , 4.5 - in , 5 - inch , and 6 - inch peck . That ’s the perfect pick to get your Christmas cactus through at least a decade of growth !
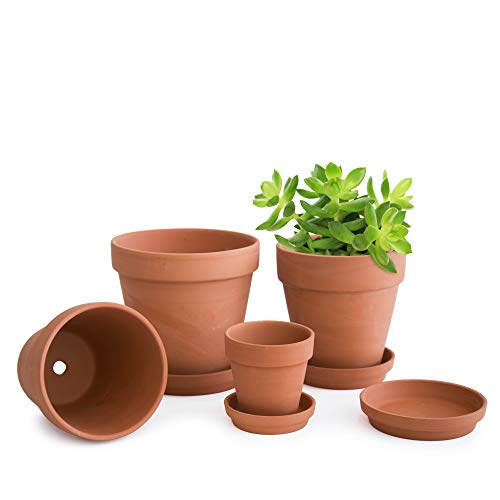
checker them out on Amazon by cluck here .
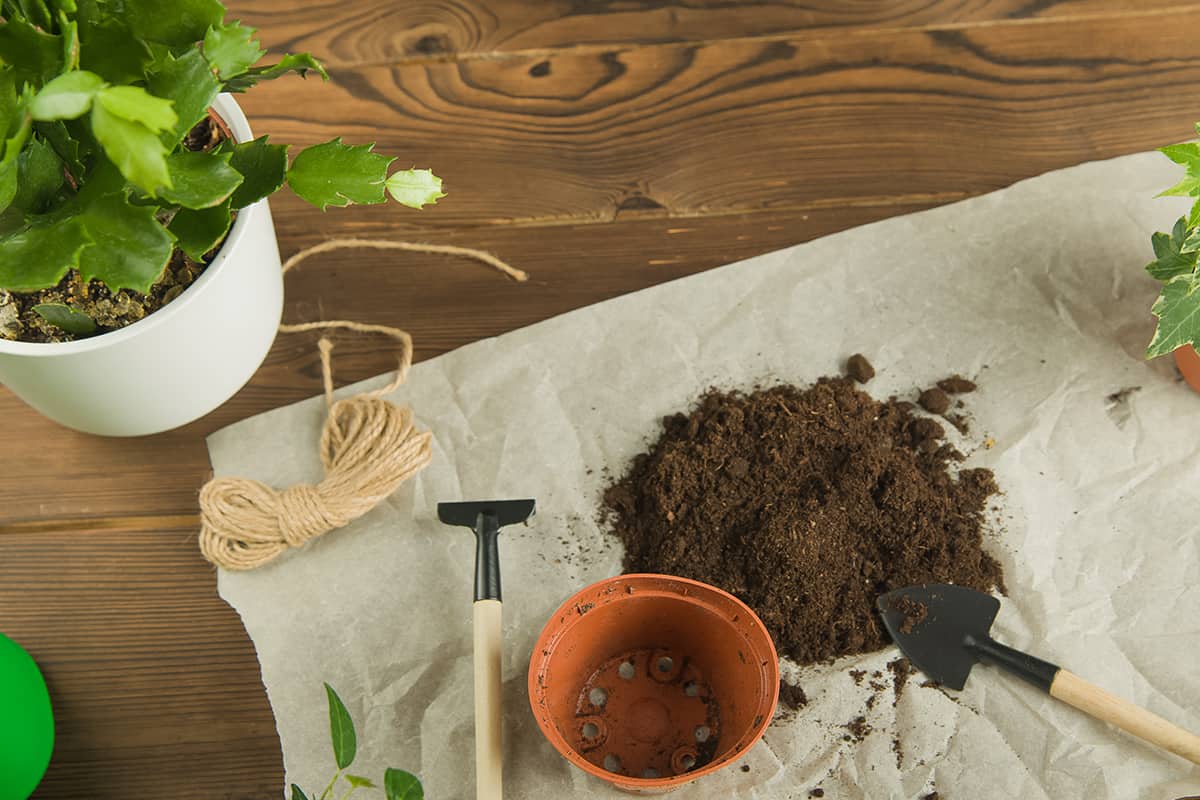
How To Re-Pot A Christmas Cactus
Before you begin , collect everything you need so the process is quick and fluent . Here ’s what is required for re - pot a Christmas cactus :
1. Prepare The New Pot
The first thing you ’ll involve to do is prepare your cactus ’s new house . That way , you ’ll derogate stress the roots . Pour some potting soil into the new pot , filling it about two - third base of the path to the top . Then , make a small hole in the soil with your hand .
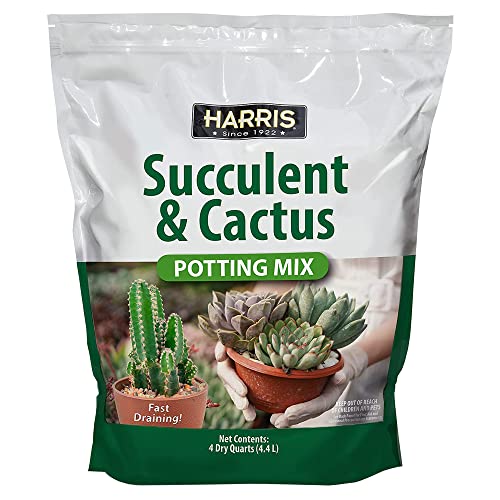
Since Christmas cacti are actual cacti , yours will appreciate cactus potting soil . Harris make a enceinte cactus and succulent pot grime mix that encourages H2O to drain quickly .
Click here to check it out on Amazon .

2. Remove The Cactus
Now , gently remove the Christmas cactus from its previous crapper . Slip the butter tongue or trowel in between the soil and the pot , then cautiously wobble the blade back and forth . This should undo the roots enough to allow them to mistake destitute from the pot .
As you do this , be very careful not to damage the cactus ’s roots , especially if it has becomeroot spring . If its roots are coming through the drainage holes , it might be proficient to just cautiously expose the pot or cut back it away . If the ascendent orb is very tight , you may lightly knead it into a loose form . Again , be careful to not damage the roots .
3. Introduce The Cactus To Its New Home
sweep off any excess dirt that ’s hang to the roots . Then , place your cactus ’s root orb in the hole you made in the new pot . Add a small bit of extra dirt to enshroud the radical and pat it down hard . you could also take this chance to remove any prow or leave that are yellow .
Finally , give your Christmas cactus a farsighted drink of water , then put it in a funny touch for several day . This render it time to restfully adjust to its newfangled soil .
How To Grow A Christmas Cactus From A Cutting
One of the easiest and good agency to acquire a Christmas cactus is by disperse cuttings . This is an easy way to develop new Christmas cacti for yourself or to share with family and friends !
The good time to glean cut for propagation is late spring to mid - summertime , which is the commencement of the farm time of year . You should also wait at least one month after your Christmas cactus blooms to collect cuttings .
Here ’s what you ’ll need :
For rooting in water :
For rootle in soil :
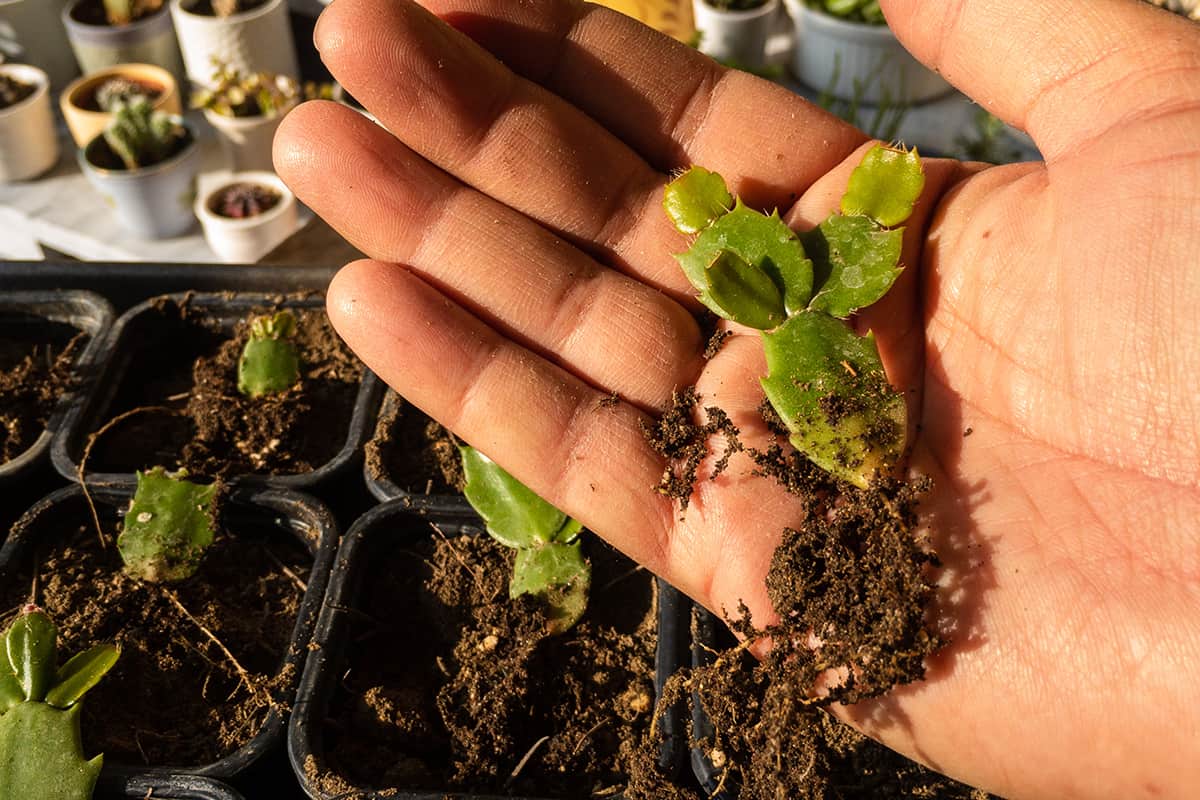
1. Take Your Cuttings
To harvest the cuttings , apply sharp scissor grip or horticulture shear to dispatch two to five segment ( the flat " leave-taking " of the cactus ) at the articulation . you could also move out the cuttings with your fingers by purloin at a joint and twisting it off .
garner multiple segments since they might not all successfully root . verify to hoard them evenly around the Christmas cactus to avoid give it a lopsided spirit .
2. Let The Cuttings Heal
lie your cutting out on a piece of paper towel or other clean , flat Earth’s surface and place it in a cool , dry place . Leave them for at least two days or until the cutting edges heal .
This step is authoritative because if you seek to set the unhealed segment , they could terminate up rotting . You ’ll screw that they ’ve finished healing when the cuts are seal over and experience ironic to the contact .
3. Root Your Cuttings
Next , it ’s metre to let your cuttings grow roots . You have two options for this — root in urine or settle down in soil . Both can have near results , so it ’s up to your personal preference .
To root your cuttings in water , add together at least two inches of small pebbles to a modest glass or jar . Then , pour in just enough water to cover the pebbles completely .
Now , put your slip in the jounce with the end that was removed from the plant give-up the ghost in first . Use the pebbles to prop them up , and verify that only the gratuity are submerged .

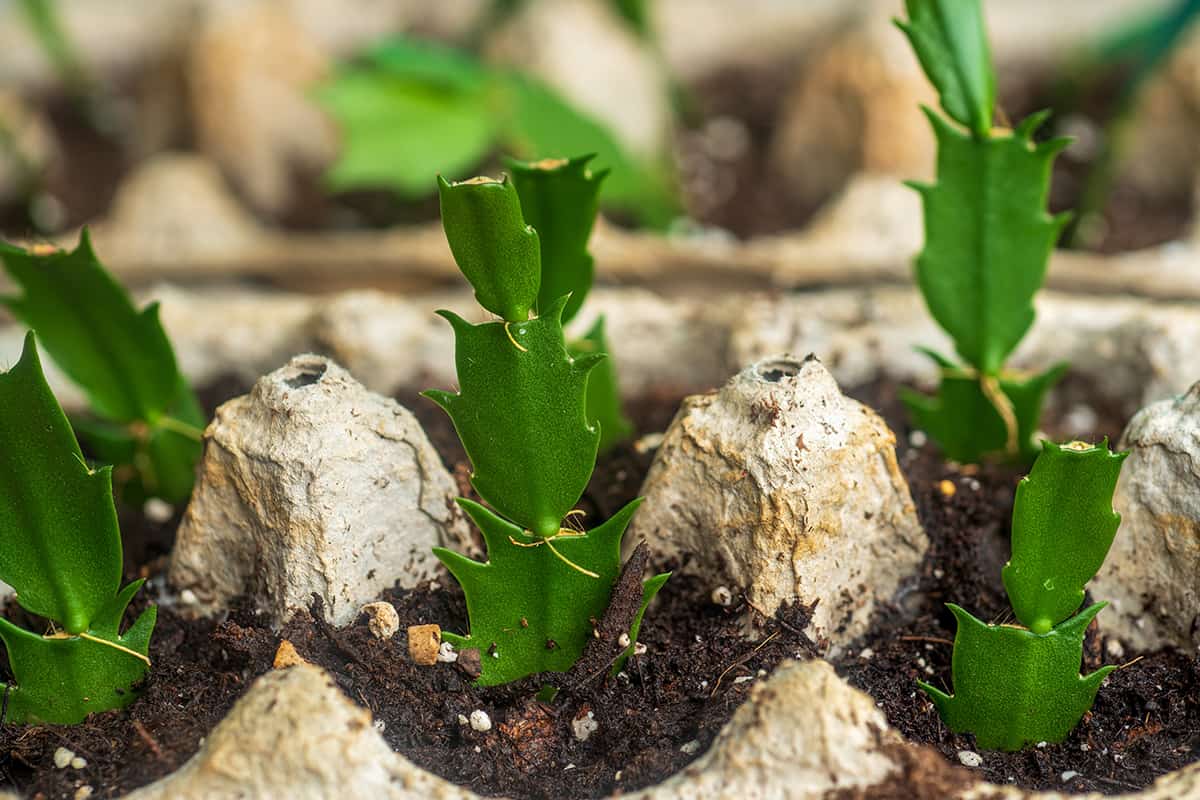
If you want to root your cuttings in land , mix coarse Amandine Aurore Lucie Dupin with perlite or peat and add it to a small pot . or else , you could use an egg carton if you have lots of cutting to disperse . Then , pour out in enough water to soak the potting premix and wait for the extra water to drain entirely .
Now , insert the cuttings about half an in into the soil . This should be deep enough to keep them standing upright , but feel detached to tamp down the soil around them a little more securely for extra support .
you’re able to ascertain more about propagating in perlite from our articleHow To Propagate In Perlite [ Step - By - Step Guide ] .
4. Let The Roots Grow
For either method acting , put the cutting in a berth that stick bright , but indirect sunlight . allow them sit down for about six to eight weeks , or however long it takes for the roots to grow to half an inch long .
Keep an eye on the water levels . Maintain a ordered amount if rooting in water system , and water supply when the soil is entirely dry if root in soil .
5. Transplant To A New Pot
Finally , it ’s clock time to transplant your carving to their lasting pot . employ a 2 - inch or 4 - column inch clay pot with drain holes , and pursue the focal point above for transplanting a Christmas cactus .
For the near results , keep your Christmas cactus in high levels of humidity and bright but indirect visible light . you may further it to bloom more quickly by keep the temperature around 60 to 65 level Fahrenheit .
In Closing
We trust this article answered all your dubiousness about what size bay window to expend for a Christmas cactus ! Additionally , we hope it helped you learn some other ways to pot and propagate your Christmas so it grows happy and hefty for many eld to amount .
If you ’d care to determine more about Christmas cacti , check out our articleIs Christmas Cactus A Succulent ? [ What ’s The Difference ? ]