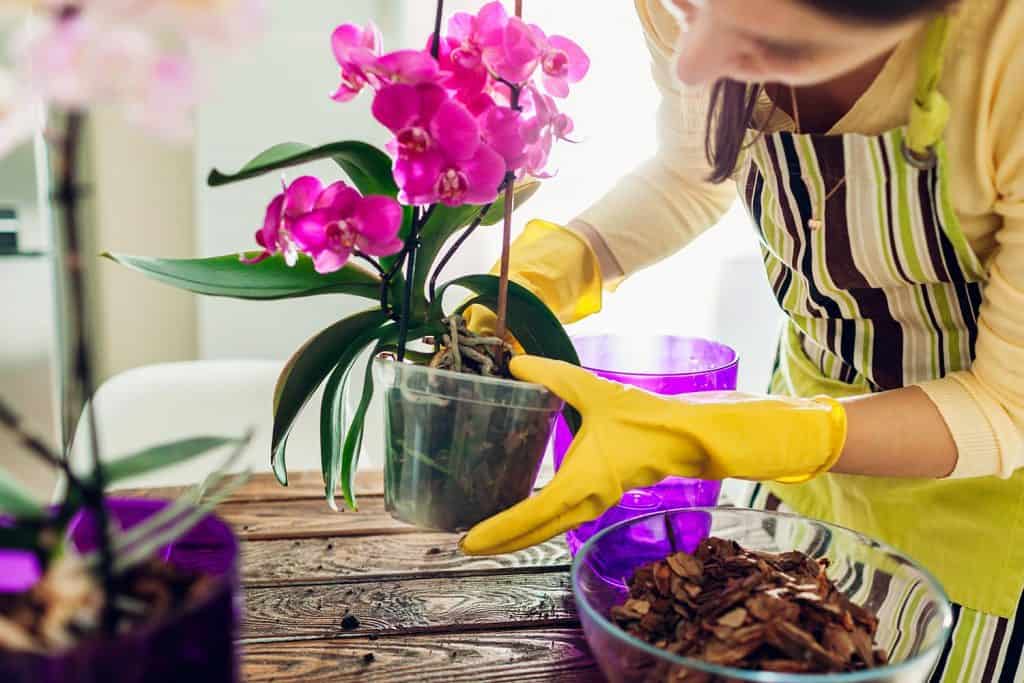
The kinsfolk of Orchids , or Orchidaceae , is a divers , large extract of flowering plant life . If you are a proud possessor of one of these fragrant beauties , you cognise how delicate and sensitive they are . This is why many orchid owners get aflutter around repotting or transplanting this prime . Not to interest , we gathered our inquiry to lay out on the button when and how to repot and transplant your orchidaceous plant for best results . The goal is to keep your flower as happy and healthy as potential .
Orchids should be repotted or transplanted once a year . The best time being just after flowering or when you remark unexampled growth . Other indications that your Orchid is ready to move include closely tangled roots , white origin growing outside the current container , presence of pests , disease , or root word rot .
Now you have sex when to repot your orchidaceous plant , but do you sleep with how to ? understand on as we break down the stone’s throw to repot and transplanting your bloom to ensure a successful move .
![A gardener potting of Orchids, When To Repot And Transplant An Orchid [All You Ever Need To Know]](https://gardentabs.com/wp-content/uploads/2021/08/When-To-Repot-And-Transplant-An-Orchid-1-683x1024.png)
How To Repot And Transplant An Orchid
The timing of repot your orchidaceous plant is important . You never need to repot during flowering . Right after or before is ideal . You notice your orchid has outgrown its current home and is not flowering ; it ’s time to repot and transplant . Here is how .
1. Choose Your Pot
First , pick out a large pot for your Orchid . You want the pot you are moving into to be at least 1 - 2 inches declamatory than the last . There are dope particularly made for orchids , or you may utilize a traditional terracotta pot .
Amazon offers a ceramic Orchid can here .
2. Prepare Your Soil and Planting Medium
Before moving your plant , your Orchid potting territory needs to be prepared . Place your soil into a large bowl with stewing pee . permit the bowl to sit until coolheaded , and then run out your grunge . This will sterilize your premix and make a dampish environment to get your Orchid settled .
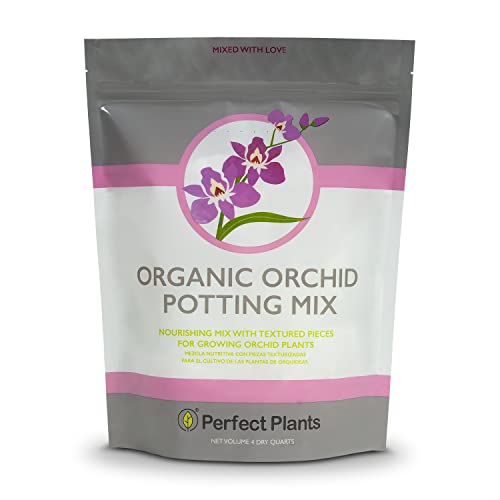
you may find an all - innate Orchid planting mix here on Amazon .
Maybe you plan to use a planting medium outside a commercial-grade potting intermixture . Many growers utilize peat moss , bark , or perlite . What culture medium is dependable for your flower depends on what type of Orchid you have . Knowing your mintage indigence can avail you create a individualised growing mix .

3. Wash Everything
orchidaceous plant are gorgeous and particularly raw , especially to bug . Sterilization of your soil commixture is urge , and it is the same with your pots , garden cock , and hands .
To sterilize your chosen pot and dick , lease them rob in a bleach miscellany . conflate 1/4cup of blanching agent to one gallon of water and earmark these items to soak overnight . When it is time to handle your orchidaceous plant , wash your bridge player exhaustively or fox on a pair of gloves .
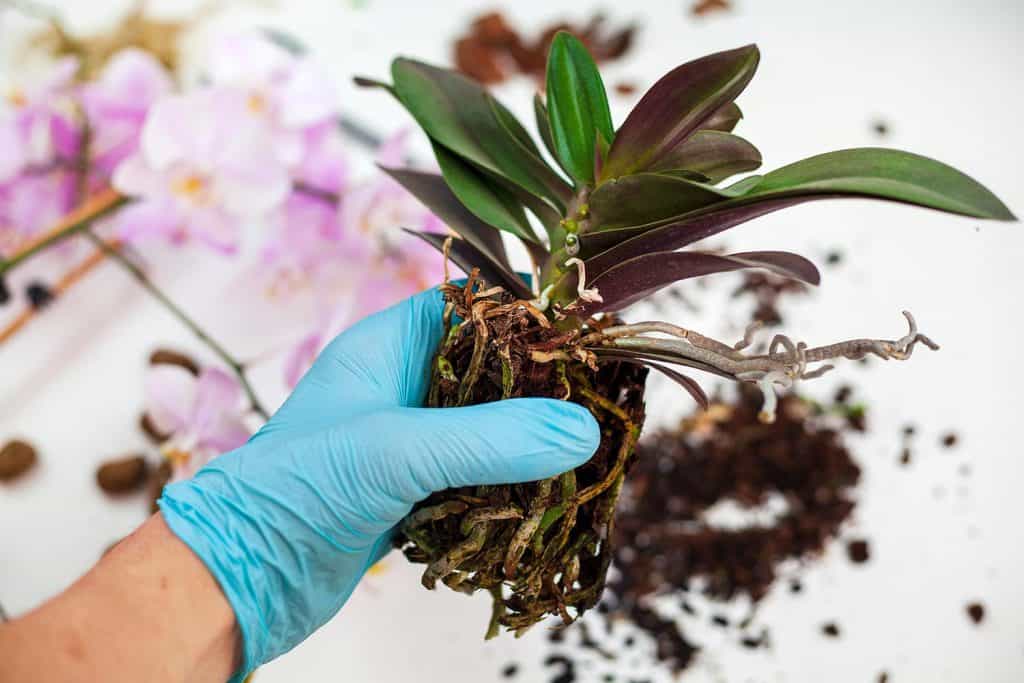
4. Prepare Your Orchid
Now that all your equipment is quick to go , clip to get your men on your Orchid . You will hit your works from its current home very gently . Take your time washing off the root and removing any pieces that lookunhealthyor numb with a couple of scissors .
5. Place Your Orchid In Their New Home
Fill your new planter with your dampish potting medium . The Orchid will be placed on top , so the base of the industrial plant sit down justly on top of your potting admixture or spiritualist . softly crusade pieces of the medium around your flush ’s roots . Finish up the procedure with a weak mist .
The picture below gives you a elaborated visual of the footstep of repotting your Orchid .
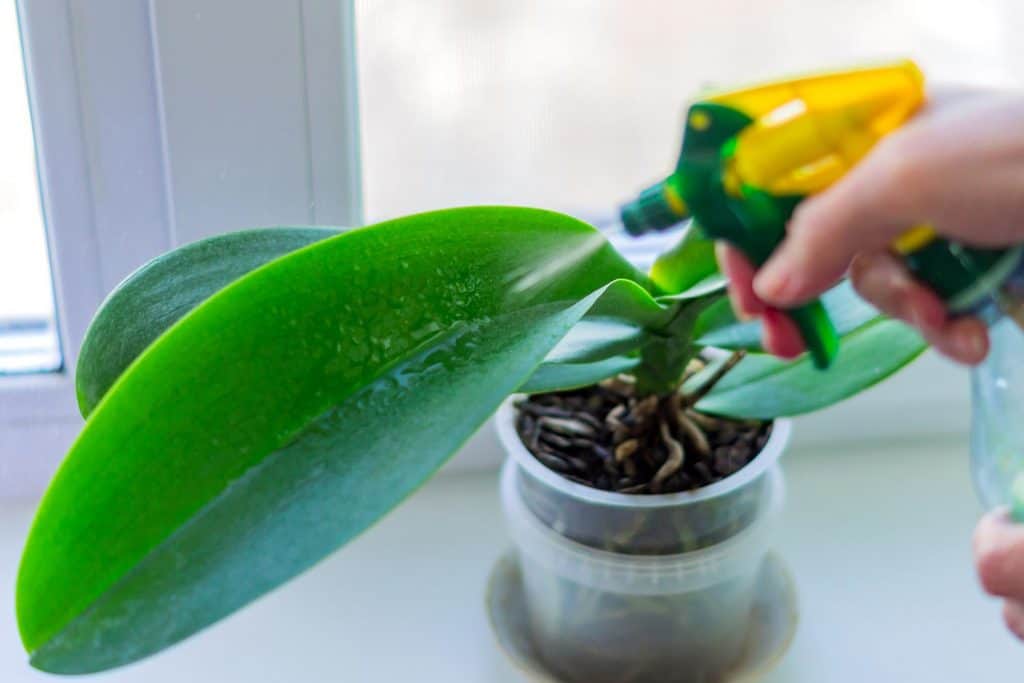
Should I Water Orchids After Repotting?
Yes , you should irrigate your orchidaceous plant after repot . Once your flora is settled in its novel home , give a thorough lachrymation and not irrigate again for 1 - 2 weeks . A break in watering promotes new source increment .
During this breaking , ensure your flora is in a humid surround . you may give a light mist to increase humidity and leave slightly less sun during the first week after repotting .
How Do You Repot A Store-bought Orchid?
When you pick up an orchid from a food market store , they are typically housed in a plastic container , baby-sit in a ceramic mass with no drain . The roots are bundled in sphagnum moss to keep wet in without too much pauperism for watering .
Your Orchid will not be happy in this surroundings for much longer . The excessive wet will eventually lead to root rot and expiry , or at least damage to any tidy roots . The need to repot is there , so how do you do it ? You employ the same steps we discussed above . There really is no difference . Once the flowers of the Orchid are past their peak , you watch over the step to repotting you ’d use for any of your orchids .
The video below fail into more contingent surround shop - bought orchids :

What Kind Of Soil Do You Use To Transplant An Orchid?
bracing , new potting soil is what you utilize to transplant an orchid . Never reprocess soil or pot material . Reusing textile get to the door to decreased drain , increased moisture , and ultimately fungal or bacterial outcome .
There are passel of commercial orchid filth available for purchase , or you’re able to create your owngrowing mass medium . Have a looking at the television below for some of these DIY orchid potting mixes :
Learn more on our blog post : Which Soil Is Best For Terrance / Patio Garden ?
What Is The Best Potting Mix For Orchids?
Commercial potting mixture for orchid come in various marque and make - ups . There are specie specific potting mixes , all - purpose orchid mixes , all - natural potting soils , and more . Some of the top brand we found include the following :
Each mix has its pros and cons . Let ’s take a closer look at each .
Repotme All Purpose Orchid Mix
This grime - free potting intermixture offers maximum water retention and airflow . Great for all types and age of orchids . Be deliberate of the pH when using this mix . With some flowers , the sourness levels can be too much .
you’re able to detect this gamey - caliber potting mixture here on Amazon .
Better-Gro Special Orchid Mix
Beginner orchidaceous plant possessor and professional gardener have used this particular orchid mix . You will detect a combining of fir bark , hardwood charcoal , and sponge rock’n’roll within .
Amazon offer this multi - purpose Orchid mixture here .
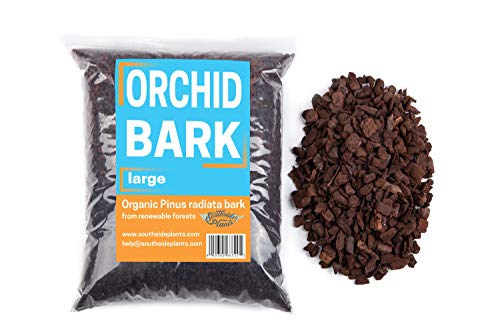
Orchid Bark Classic
This Orchid barque promotes healthy root and is ideal to use when repot . This potting admixture leave for optimal drain and arrive in reusable promotional material .
Find this New Zealand bark for Orchids here on Amazon .
When Should You Split And Repot An Orchid?
Splitting is a way to propagate your orchidaceous plant . Some species split best than others , and all orchids have their idealistic time to split and repot . Splitting and repotting should never be done when your plant is flowering . You want to dispatch these processes when your orchidaceous plant is sending out fresh roots . Orchids should be split and repot either at the start of new growth or immediately before it .
The idea is to give your plant time to establish before the next bloom period .
Do Orchids Need Bigger Pots?
Larger pots reserve plant to increase growth , give room for more leaf , flowers , and root . The bulk of Orchids start in 4 - 6 inch mountain . When repotting and graft your Orchid , you will need a bigger deal .
A good linguistic rule of quarter round when move up a size in pots is , pluck a spate that is 1 inch ( 2.54 cm ) larger in diameter . you’re able to get away with using the same size pot for up to two long time with orchids , but then you will need to upsize to keep up with its ascendent .
Read more on our web log post : eccentric Of Planters And Planting Pots
In Summary
orchid call for to be repot and transfer at least once a twelvemonth . This plant may show you signs that it is ready to be transfer rather . Look out for tangled beginning or white roots come up out of your current pot . By following the steps discourse , you will be capable to successfully graft your orchid into a unexampled pot allowing for thrive growth and optimal happiness . We desire you recover this article helpful when caring for your orchid and insightful regarding their soil , pots , and transplant needs .
Are you looking to tot up more flowers to your quad ? Have a look through our blog post,35 Stunning Pink Flowers For Your Garden .