It is incredible how quickly fern reproduce , even without flowers and semen . So to bask the most welfare of these lovely plant life and keep them hefty , you might wonder when is the best time to transplant ferns . We have conducted our research on when and how to transplant ferns to help oneself you keep your landscape painting flourishing .
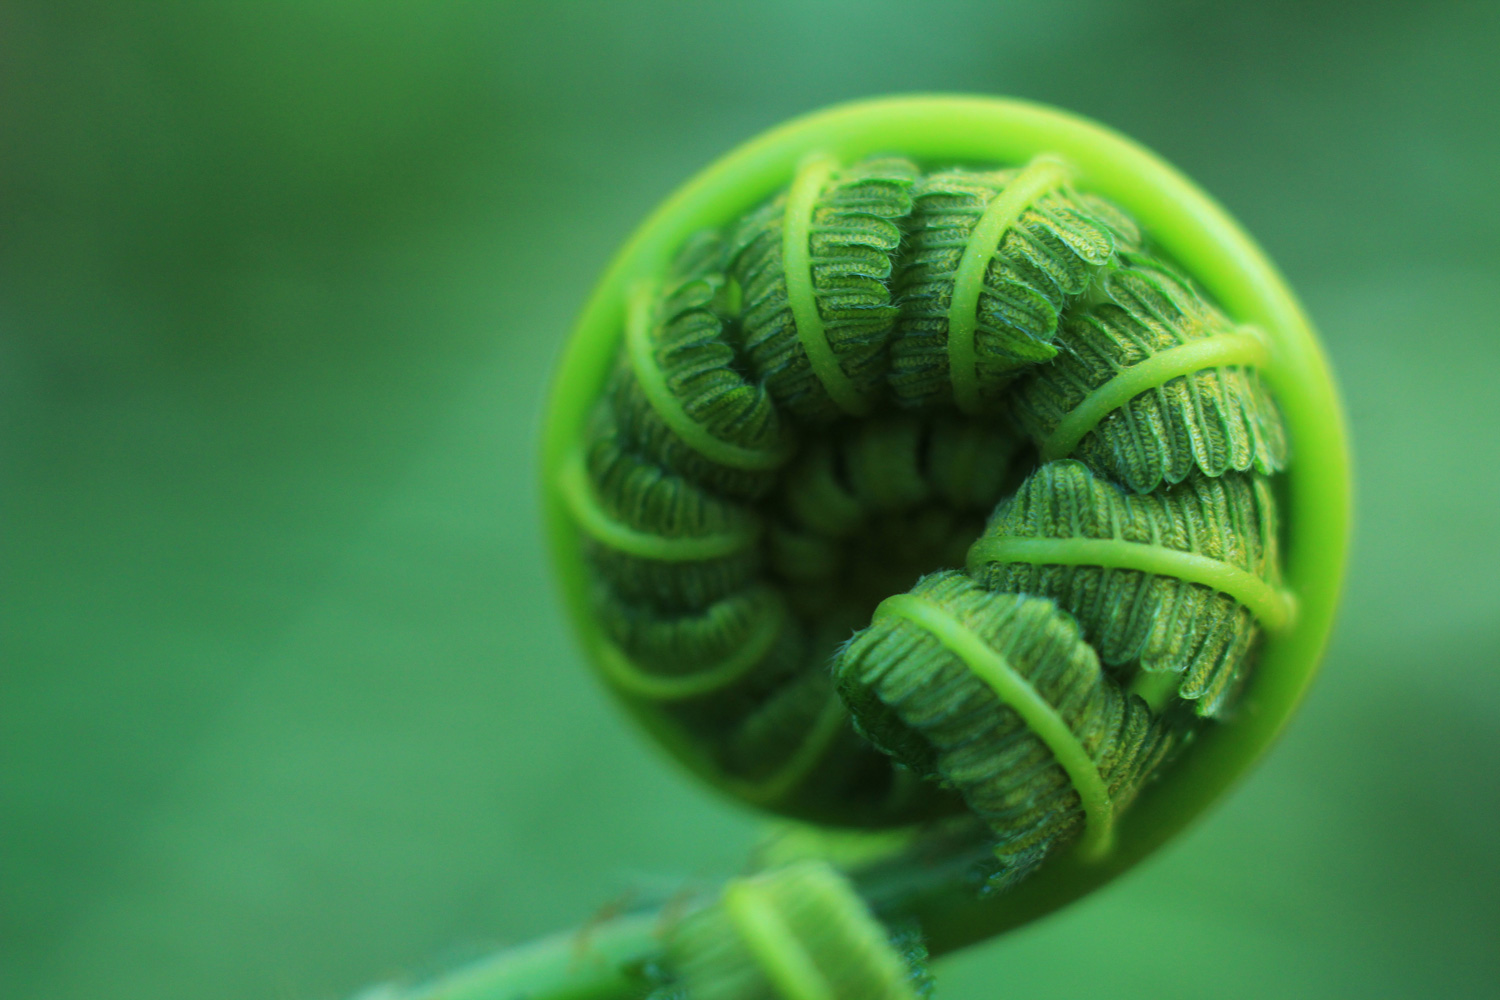
The idealistic time to transplantation ferns is in other spring or capitulation . And it would be best to transplant them just as the fiddlehead begins to develop .
If you want a more elaborate account about when you should transplant ferns , we paint a picture you keep study . We will also share in detail how to do it correctly . So , without further ado , please read on and savor !
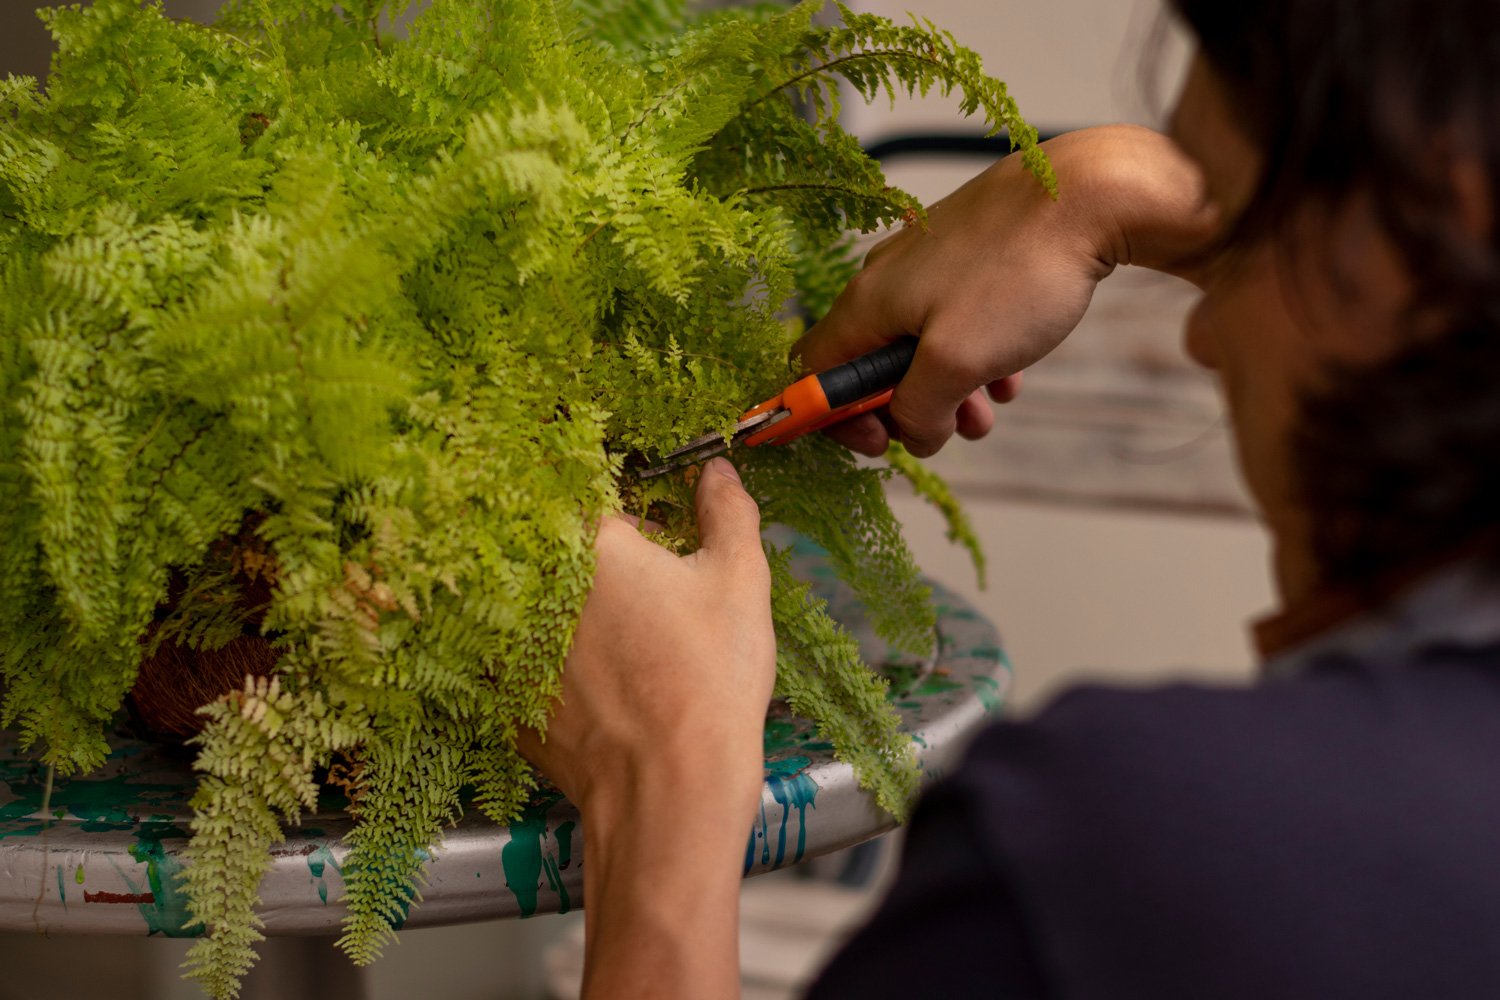
![Closeup hands of Woman transplanting a fern, a houseplant. Concept of home garden. Flower and garden shop - When To Transplant Ferns [And How To]](https://gardentabs.com/wp-content/uploads/2022/06/A-bald-faced-Hornet-perched-on-a-flower-Can-Bald-Faced-Hornets-See-At-Night.png)
When Should You Transplant A Fern?
Fall or early fountain is the good clip to transplant a fern because the temperature is broadly speaking cool , and a slew of moisture is present . fern love to be in a cool and moist surroundings to acquire healthy .
Additionally , you must be very conservative and gentle with fiddleheads while transplanting the fern because they are vulnerable to damage since they are too delicate . last , while transplanting it during fall , it would help to wait until thefrondsof the fern become brownish .
How To Transplant Ferns?
There are various species of ferns . And it would be best to know what coinage of fern you are break to transpose and what are the grow essential you should regard before start the process .
Excavate a pickle around the fern first . Draw the fern out by the roots instead of the frond , which will rive the plant . Moreover , roll up as much soil as possible with the fern while pull it .
The safest time period to transplant ferns is when they are dormant in the early spring or fall . Lastly , it would greatly avail if you see to it that you fulfil the particular grunge and clean necessities of the address localization .
Step-by-step Method On Transplanting Ferns
Before anything else , you should prepare the tool and textile you will need for the transplant process .
With your power shovel or spade , excavate a R-2 around the fern . We suggest digging straight down to allow you to remove the majority of the etymon ball . Then remove the fern cluster and its tooth root . In addition , you should sweep the soil away from the radical with a brush or your hands as you do this footstep .
Gently cut and divide the fern ’s roots into half or quarter with a tongue . And as you separate the roots , you must take note of hand that each batch of roots has some leaves maturing on it .
As note sooner , it is all-important to sleep together what species of fern you are mold on to understand its growing requirements . Also , to have a successful Fern transplant , moot the growth environment need by the fern can ensue in the end of the plant .
It will help if you find a new location with land that is the same as the one you have dug out .
what is more , you should prepare the unexampled location with an adequate amount of organic mulch . Also , you must affirm that the location does n’t get unmediated sunlight . Ferns favor soil that is abundant in nutrients and debilitate well .

At the new position , you have prefer , excavate a golf hole the same size of it as the previous one . And as you dig , you must impart compost into the dirt to meliorate its rankness .
Now , you will necessitate to site each pot of Fern into the cakehole you set up . After that , you should incubate the roots with compost . And to make the Ferns correct to their young surroundings , you need to cram them down .
For the third step , you will have to give your freshly transplanted ferns equal water . It will help if you water them weekly until you acknowledge they are already well - lay down .
Always remember that fern grow famously in a moist surround , so , as much as possible , do n’t let them dry out ! Lastly , note that if you place the newly transplanted ferns in full shade , you may not need to irrigate them a mess .
If you bring home the bacon your ferns mulch , you should give them a thick layer . And it should ideally have cedarwood bark and pine needle in it .
It would be serious to give them mulch during the growing period . Doing such will keep the soil have adequate moisture and protect it from Mary Jane growth .

Ferns necessitate only alittle fertilizersince they grow well with enough moisture and thick layer of constitutive mulch . If you give them too much fertiliser , they might prevail growth problems .
To assist your fern plants in flourish , you could add compost , leave , or worm castings to ameliorate the soil . As much as potential , debar utilizing commercial-grade fertiliser on the transplanted fern .
How To Transplant Ferns From Ground To A Pot?
1. Prepare The Gardening Pot
To begin with , you should make a sens that containsdrainage holes . Using this kind of flock will aid help your ferns murder extra water , thus keep antecedent damage .
As much as possible , keep off putting the fern in a pot that has too much outer space because there is a possibility that the plant will drown due to surplus piddle . Additionally , you do n’t necessitate a deep gardening dope for your fern since they have shallow roots .
2. Prepare The Potting Mix
To ready the potting mix for your fern , you should put horticulture grease , peat moss , and grit in adequate part . And once you end up mixing the three elements , we ’d like to cue you that you next need to pasteurise it to ensure that no bacterium will exist in it .
3. Pasteurize The Potting Mix
To pasteurize the potting mix , you will need to get over it using foil and bake it in an oven . Note that the temperature you should set is at 200 degrees Fahrenheit .
Be sure to allow the potting mix to cool before transferring it to the pot . Then damp the potting commixture by adding water .
4. Dig The Fern Out
Using your digger or spade , dig the fern out . Carefully overstretch the root system and break the soil gently . Moreover , you need to throw off the root ball to lessen the remain soil from it . you may mention to the previous instructions we ’d leave for transplanting for easy remotion shaft and bakshish .
5. Replant The Fern
For the last step , you will have to replant the fern in the horticulture pot and extend the root chunk with more potting intermixture . Keep water the fern until the grime is already moist and the gardening pot let go of excess water out of its drainage hole . last , place your newly transplanted fern in a locating with low light .
How To Transplant An Overgrown Fern?
Examine your fern plant and see if they necessitate replanting . The idealistic time to transplant your fern is when they have already expanded out of the flowerpot .
Fill a shallow pot with a soil - less growing sensitive . The gardening soil should have a peat content of 50 pct . provide enough space for the root to grow because you should not let them suffocate in a small pot .
clip the large fern into smaller piece , half , quarters , or third . Put each piece of music in individual batch . If you choose a big corporation , halve it will work perfectly . Wrap the roots of the ferns with the land - less medium after place them in the gardening wad . Lastly , irrigate them continually to keep their soil moist .

Can I Transplant Ferns That Came From The Wild?
alas , no . It is more often than not forbidden in most region to transplant Ferns from the natural state . illicitly transplanting fern from the wild results in the experimental extinction of some fern species . The only fern plant you may transplant are the ferns growing on your property or inside your home .
Wrap It All Up
Now that you already know when is the best time to transpose Ferns and how to do it , then maybe you could start transplanting and produce more of them . Fern is a great plant that can famously put up to the optical solicitation of your property !
5 Best Fertilizers For Norfolk Island Pine [ And How Much To Use ]
How Much Does It be To Rent A Lawn Mower ? [ Is buy One Cheaper ? ]
When Does Bermuda Grass Grow ? [ And When Does It Go Dormant ]
